I wanted to replicate the Boba ESB helmet as accurately as possible both inside and out as well as mounting the visor in the same way as the existing ESB Boba Fett Helmet. This is the best reference picture available to me but there are pictures in existence of the Pre production 3 helmet that appears to share some common components with the ESB helmet.
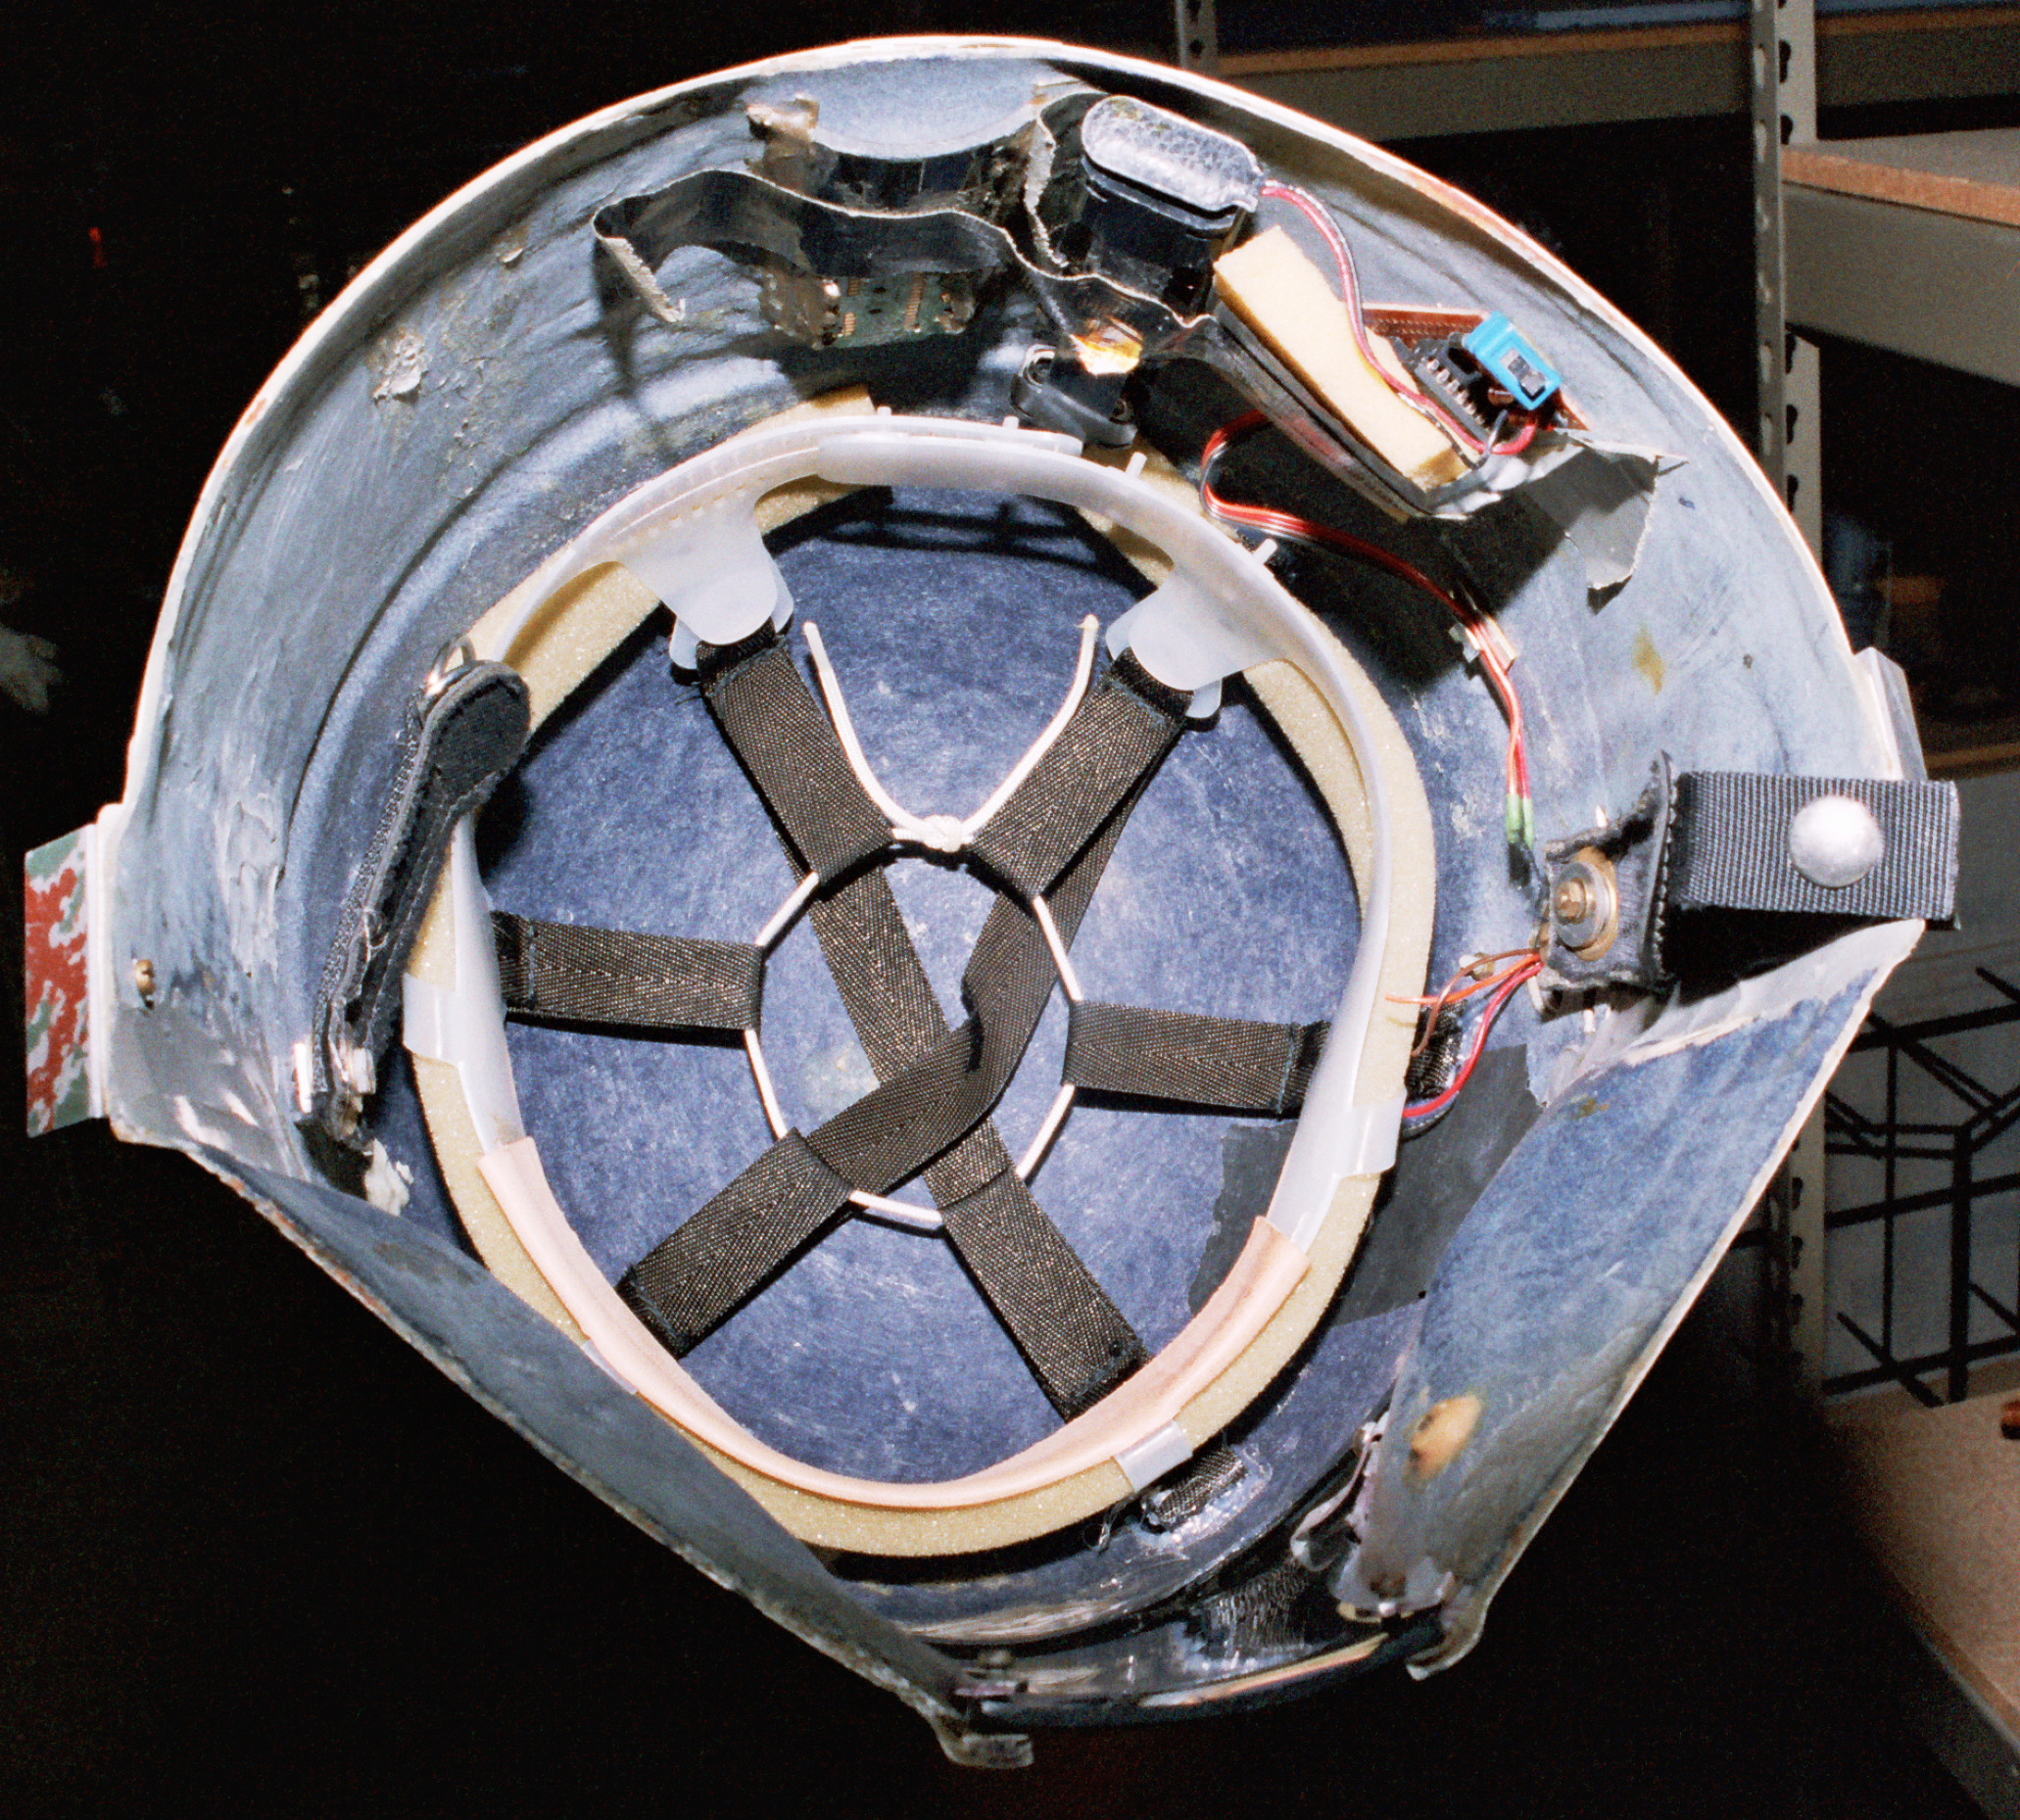
Circuit Board.
One of those items is the circuit board we can see poking out from under a sponge in this image. Pictures of the PP3 board are far clearer than this and allows the identification of the parts. Obviously we’re talking about 1970s stuff here so I began my trawl based on the available pictures and a list drawn up by forum member ‘Singleseat’ some years back. Wherever I could I used vintage parts as close to the originals as I could find. It took me a few months to locate some.

Boba ESB Circuit board
1). The vero board is a modern board hence the white guideline 10 X 24. I did look for vintage ones but couldn’t find one big enough or cost effective enough.
2). The blue slide switch is a modern Black Apem 25436NAH SPST painted blue.
3). 2 vintage RS electronics 1/2 W carbon film resistors 100 ohms (the big sausages).
4). 2 vintage RS electronics 1/4 W carbon film resistors 33K ohms (the little sausages).
5). 1 Zener diode (the black and silver thing).
6). 2 Fairchild Quad 2 input nand gates (the integrated circuits/chips) sat atop 2 integrated circuit sockets.
7). 2 Tantalum capacitors (the blue bubbles).
8). 1 modern 4AA long battery pack.
9). 1 soft shell vinyl battery snap.
10). 1 stip of rainbow wire laid out in the ESB colour order. Despite the poor picture the wire in between the red and black is brown and not grey as it appears. It was really important for me to get this right as this is really the main part that can be seen.
11). Clip. This part isn’t right but is as close as I could acquire.
Several parts here supplied by my friend Marcus.
The texture and colour.
The ESB helmet appears to be unique (so far as I know) in that it is made using fibreglass cloth. To the best of my knowledge all of the other helmets were made using chopped strand matt. The ROTJ, PP3, and PP2 certainly appear to be based on the evidence I have seen. That points to the ESB helmet probably being made first. My reasoning for that would be that if you worked in a car body shop you would probably be most used to working with FG cloth and therefore would turn to that first when starting a project but would probably then find it not suitable for this kind of thing and turn to chopped strand matt. I accept this could be a complete fallacy and reasoning to suggest the opposite and the ESB being made last could also be suggested (or middle). The fact that the ESB is FG cloth probably accounts for its apparent unique thinness and why it’s been so badly damaged over the years.
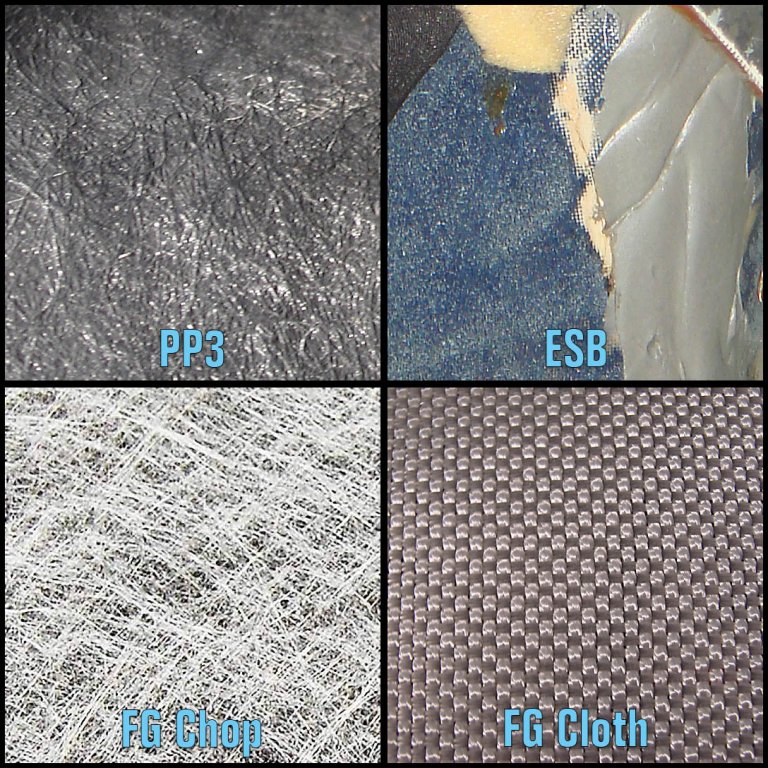
Thanks to Ryan for this mockup.
Anyway, most replica helmet made today are made using chopped strand matt and this one is no exception. In order to mimic the interior texture of the ESB I needed a FG cloth layer. I experimented with several samples on another cast.


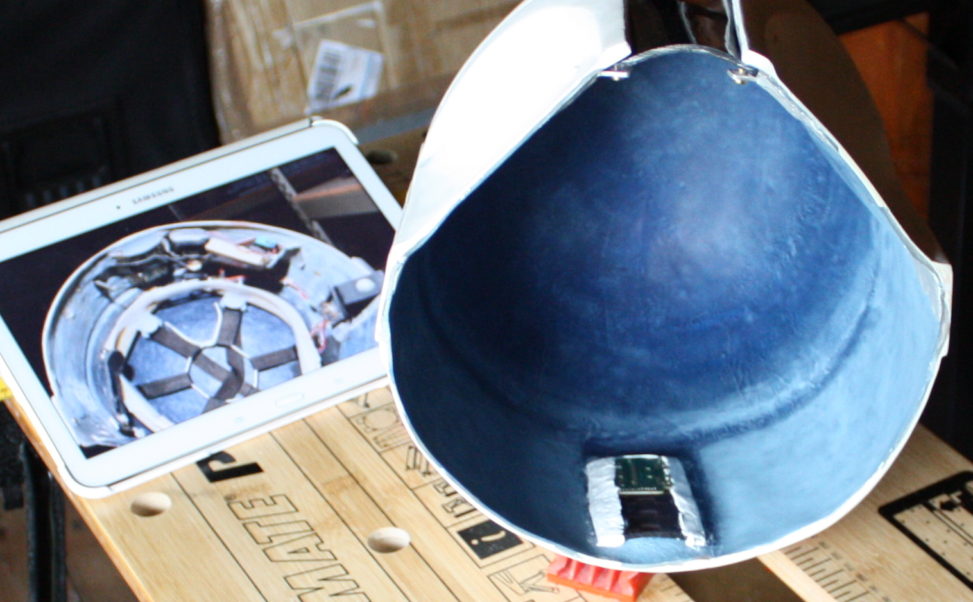
Once I had found one I was happy with I apinted the inside of the helmet a base blue and then applied the cloth in sections to the inside of my helmet in roughly this pattern.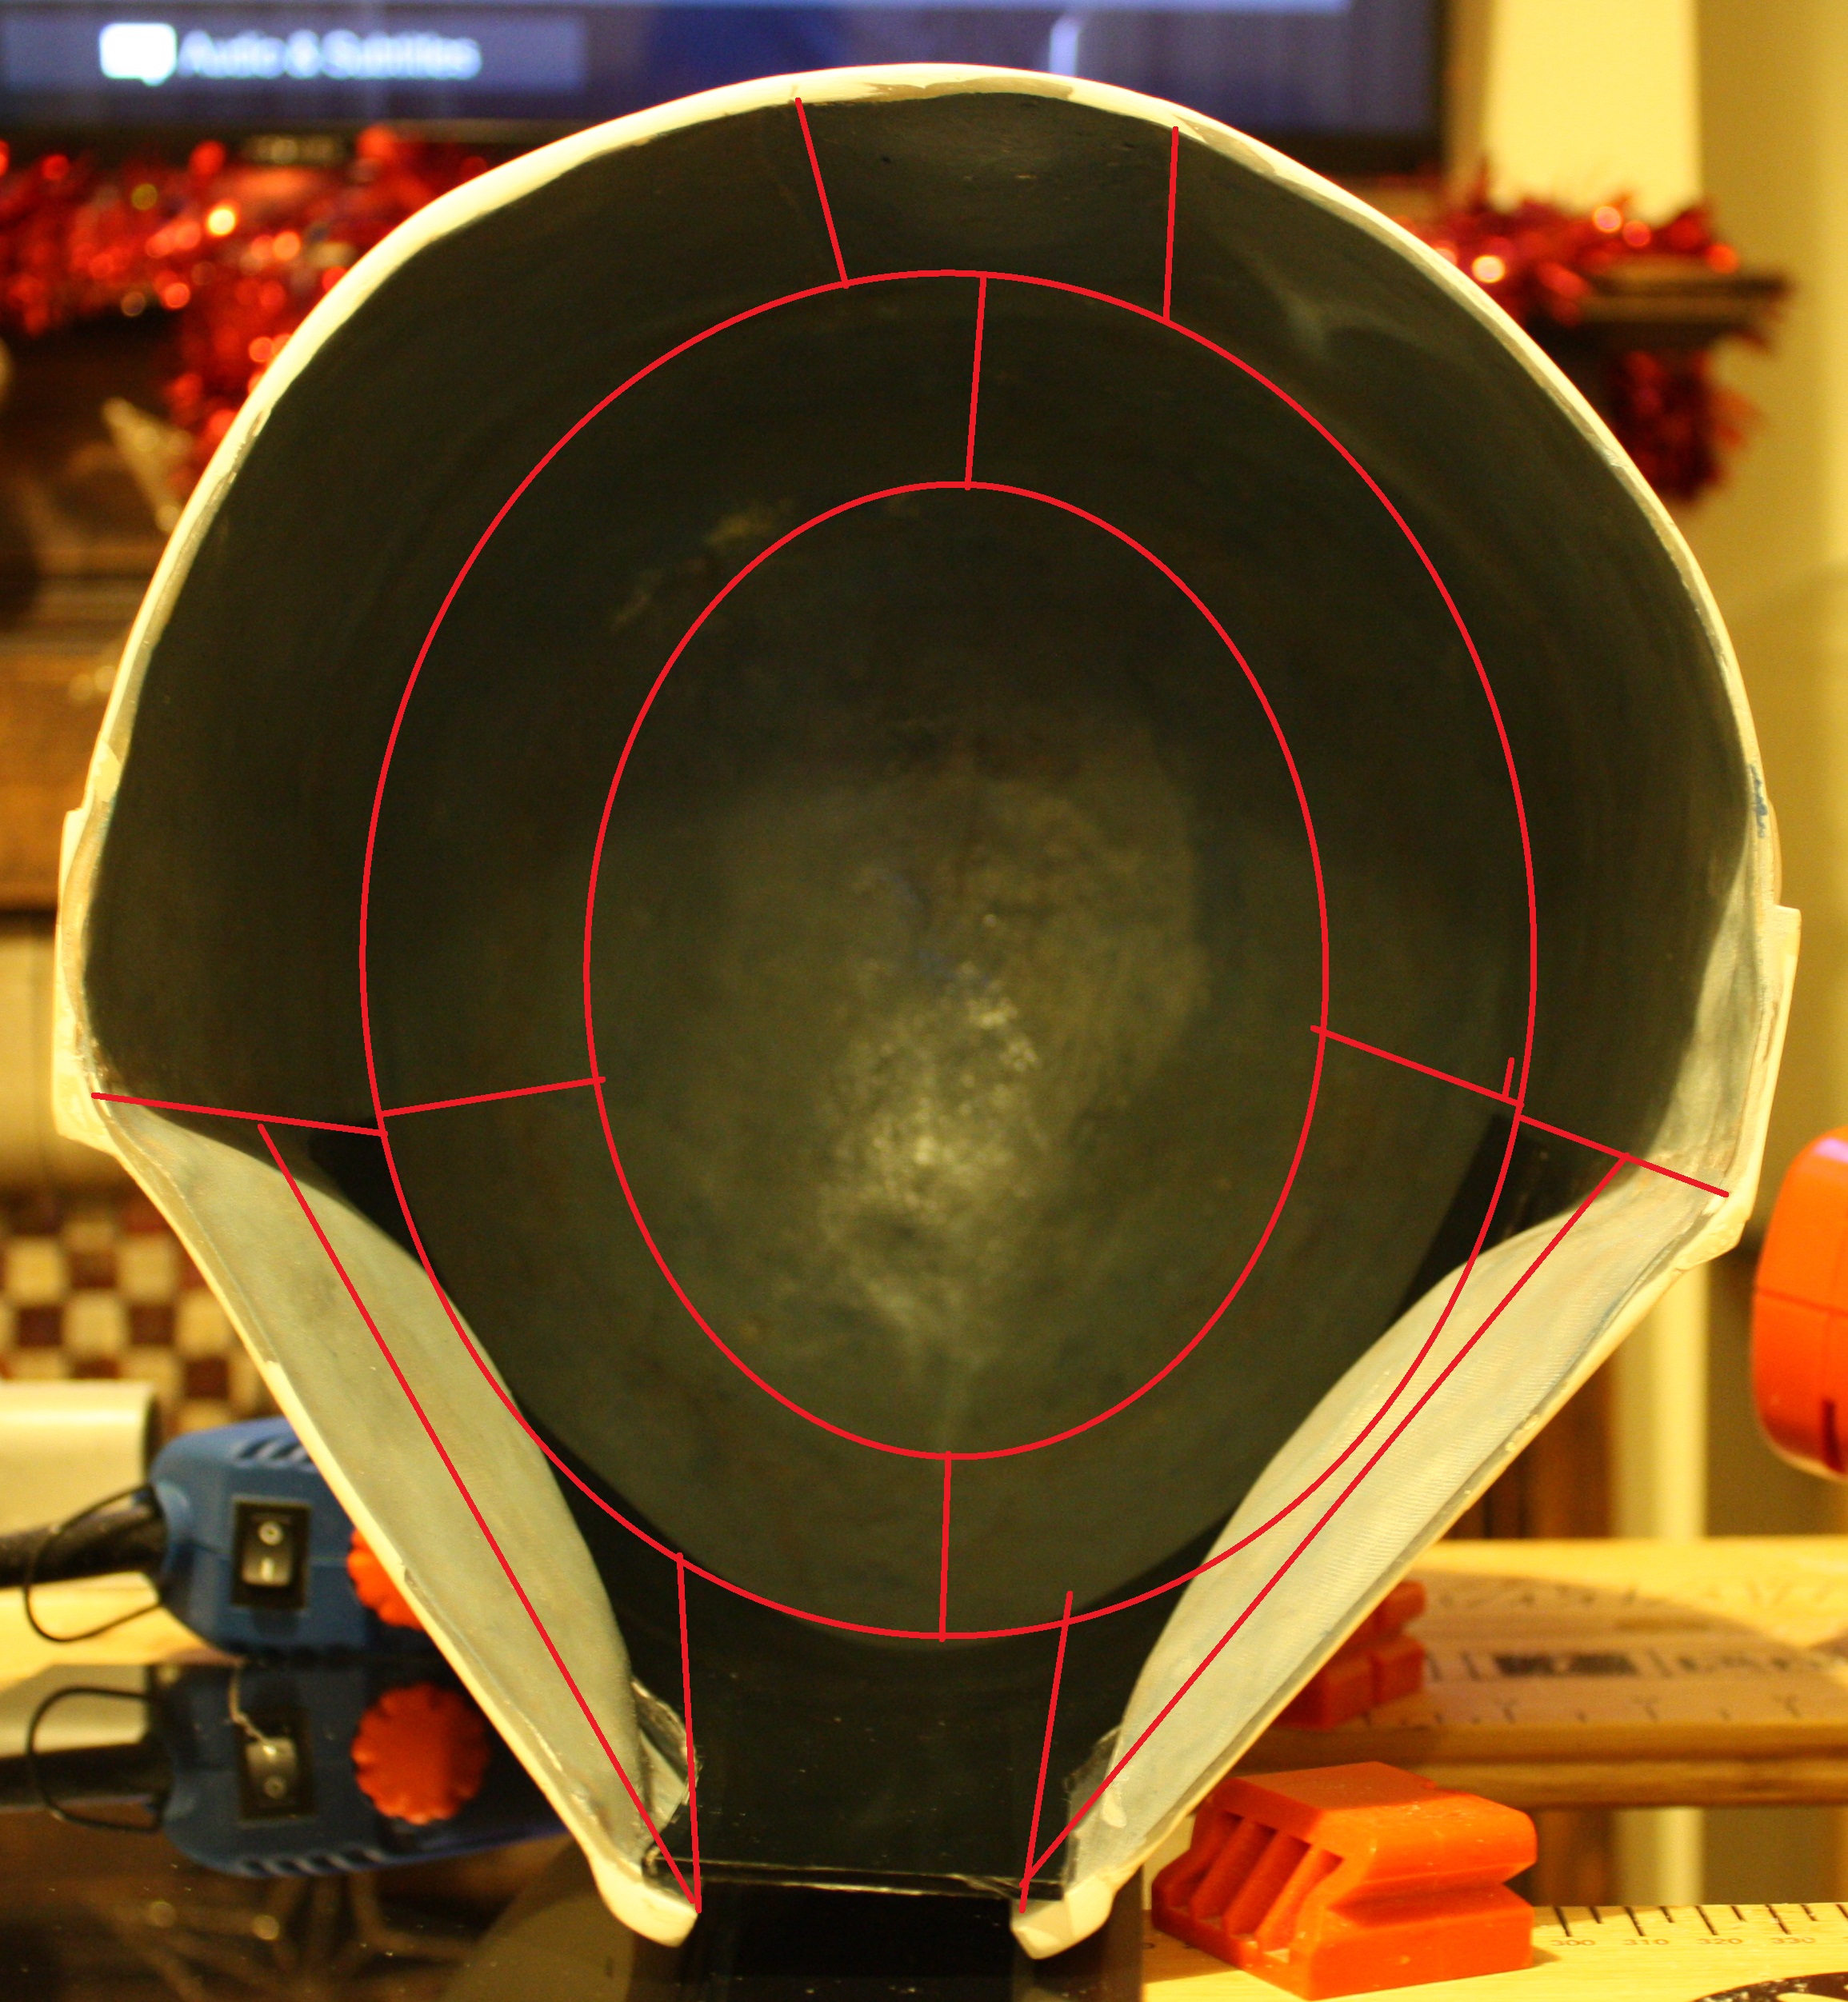
I then used successive layers of blue acrylica paint and inks with dry brushing to create the following texture (next to the ESB original) on the entire helmet interior.
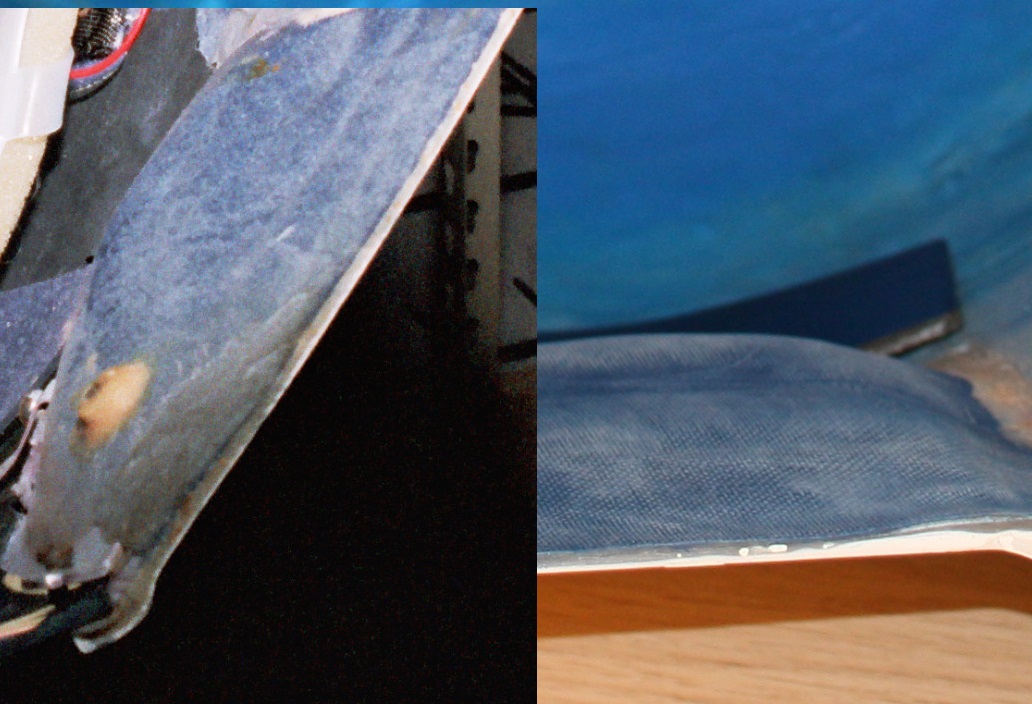
Real ESB Left. My replica Right.
Visor installation.
A visor was hand cut using a piece from a piece of dark grey A4 3mm perpex sheet based on a template I made of card using measurements I took from the helmet .
It was then heated and bent to a curve using the outside of the helmet first and then laid inside and heated some more to fit into place.


I worked with forum members Kurtyboy and Sidewinder to produce some accurate visor clips (using the correct screws).
The clips were fixed using two part Milliput. Milliput was also applied to the creases near the ears as per the existing prop.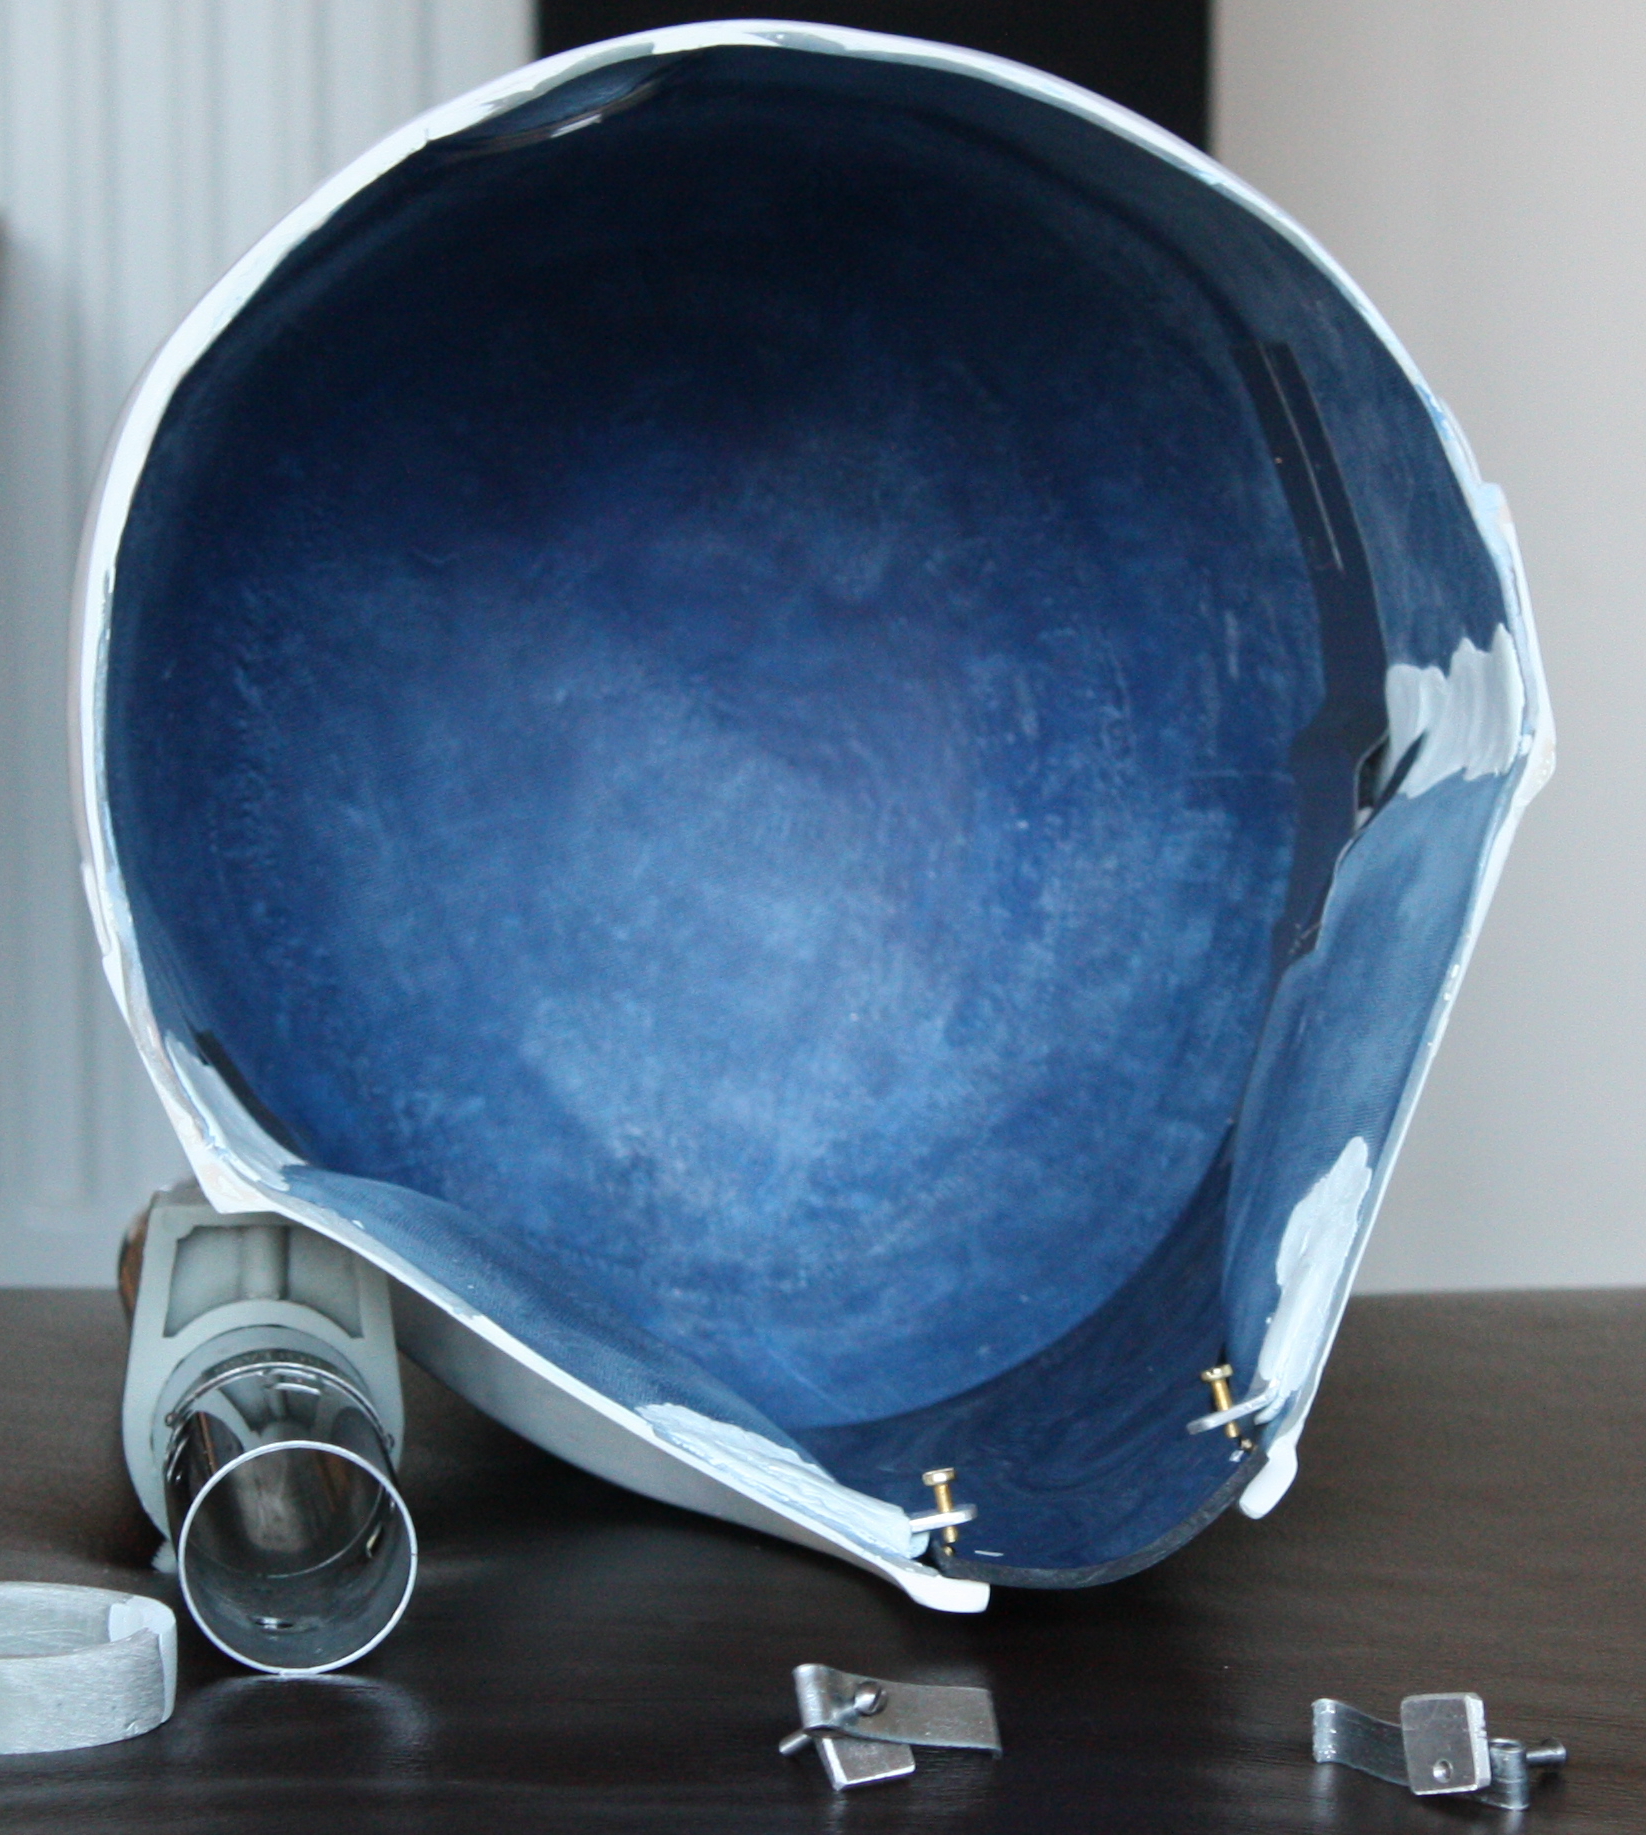
The upper ones were a real pain.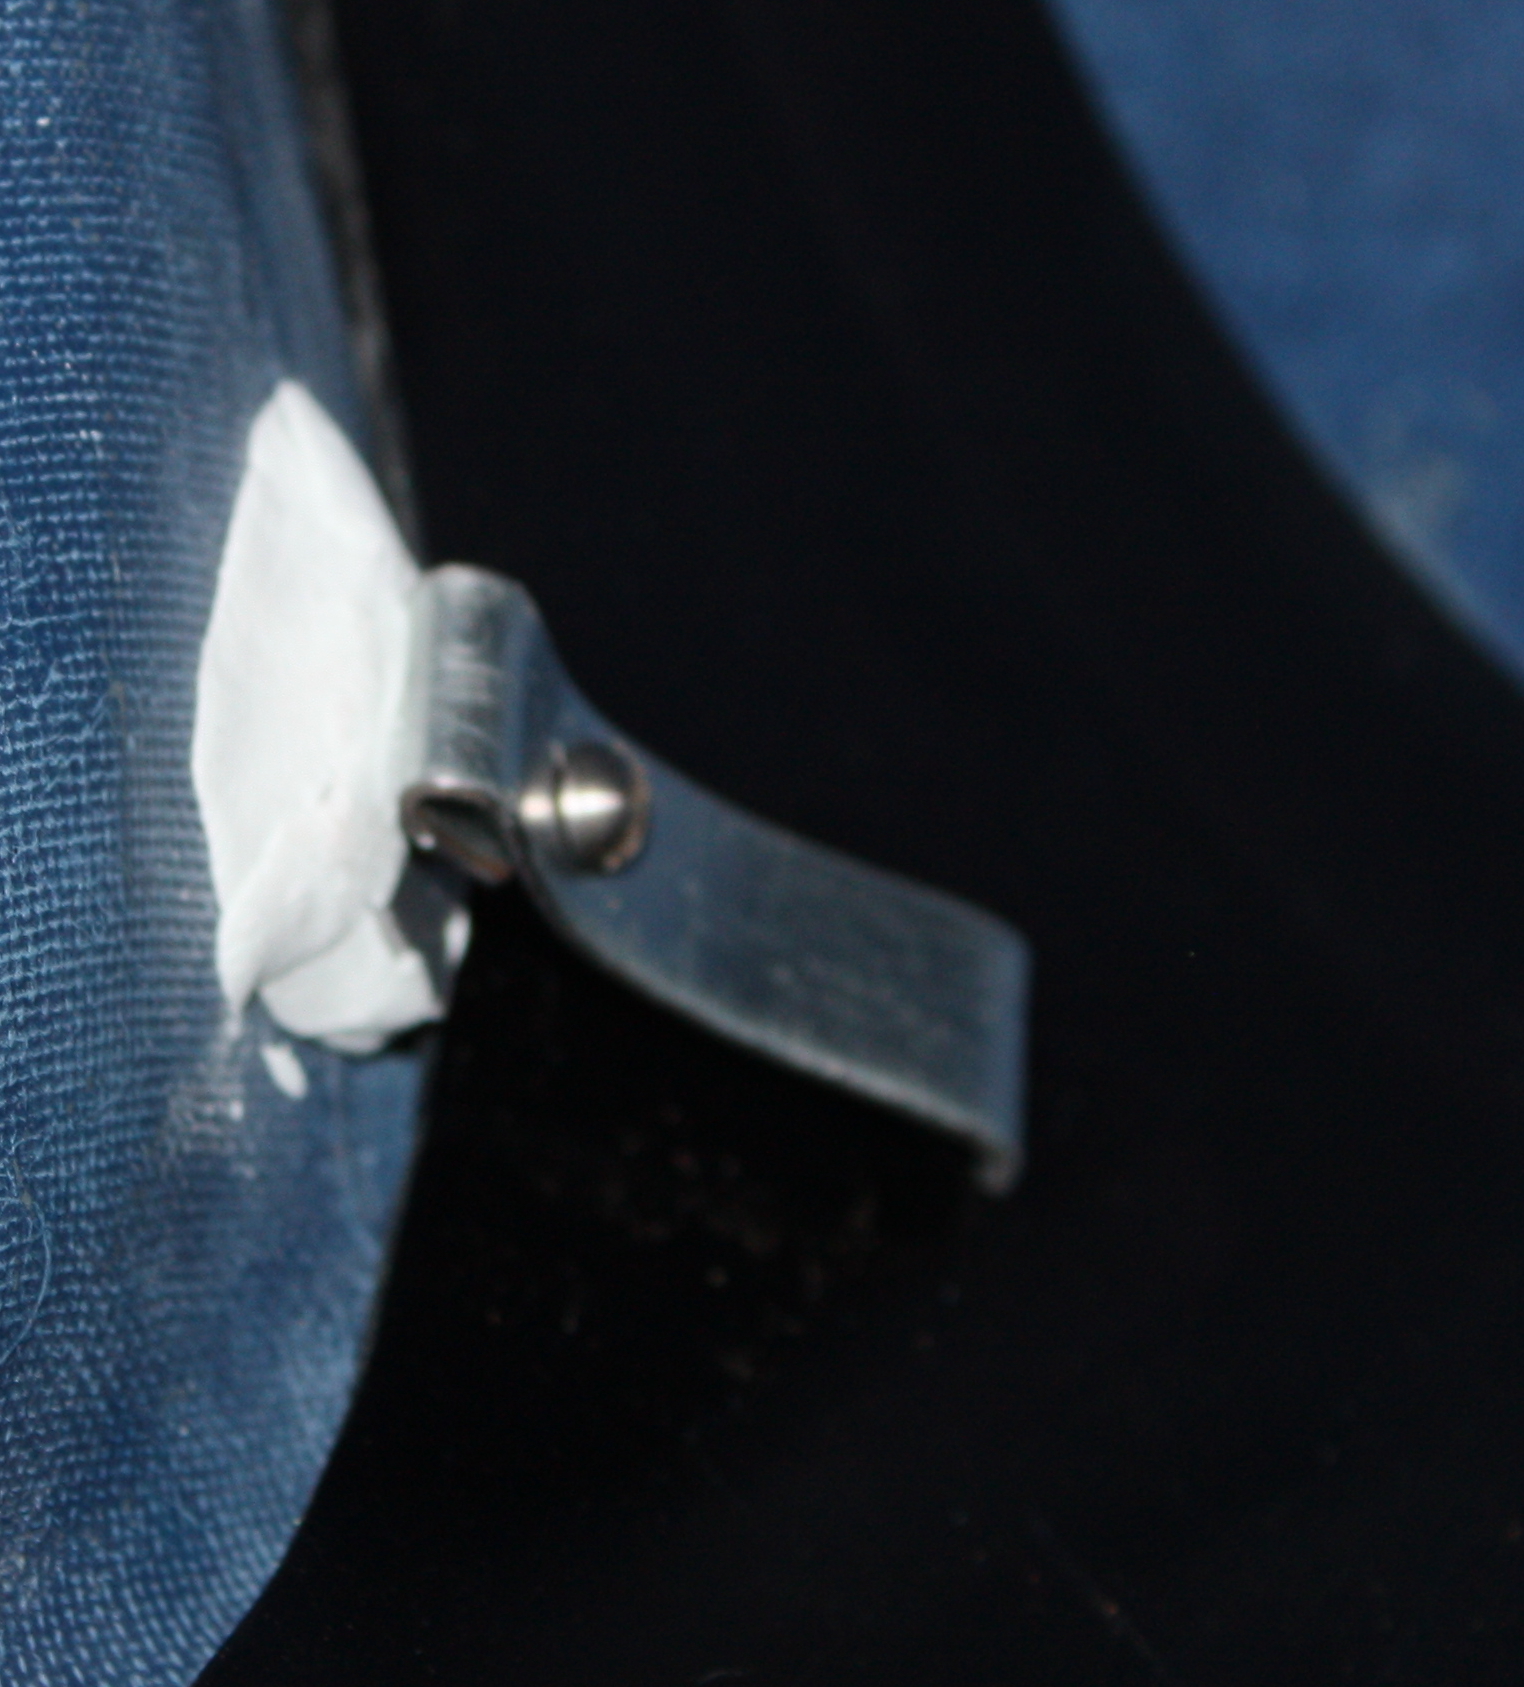
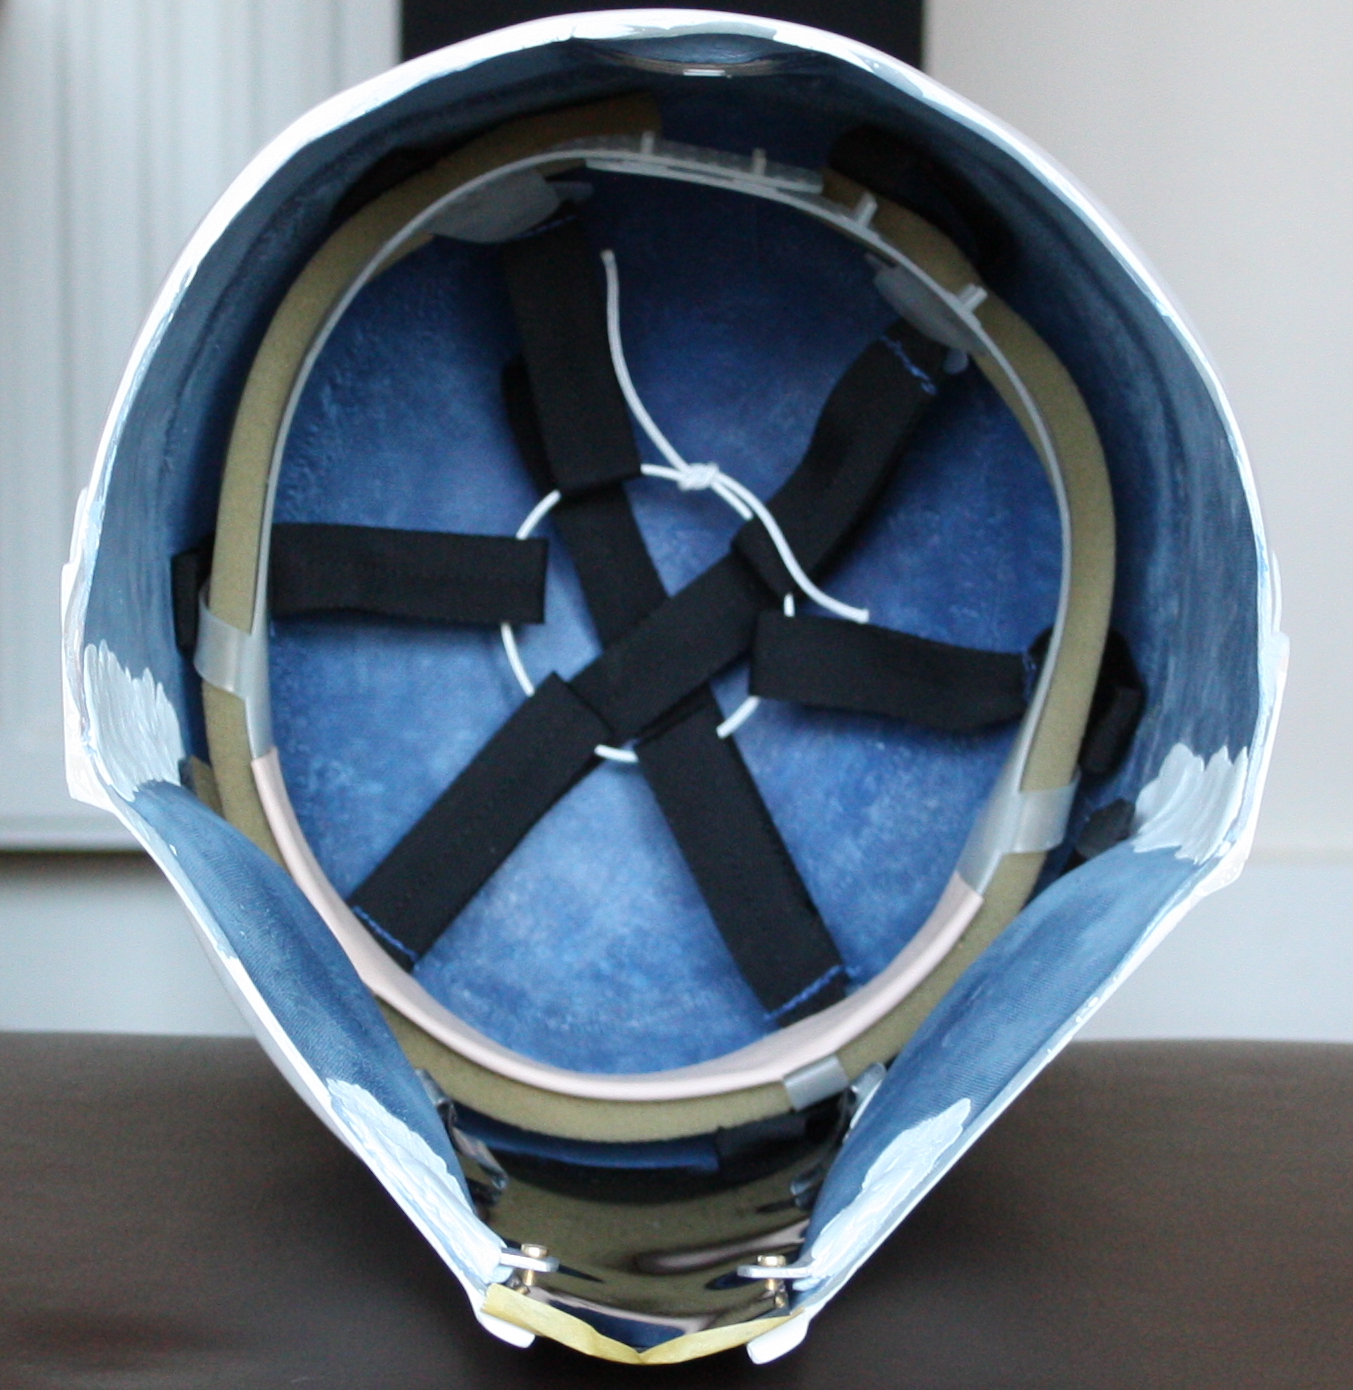
Here’s an early test run using the helmet cradle completed in the Anatomy of a found part post.
The keyslots.
Cutting out the keyslots is a time consuming part of any helmet build process but it’s got to be done so the circuit board, that can be seen from the exterior, can be added. The circuit board comes from the innards of a vintage Casio MQ1 Calculato watch (seriously). It’s a painstaking process. I’ve had a general aversion to power tools on this project as the helmet is far too valuable to cock up with one mistake where apower tool is concerned but on this area I did use a micro belt sander to ease some of the work and a rotary tool to drill out some pilot holes before cutting. 

Keyslots cut and MQ1 circuit board
Once I’d thinned out the keyslots to the desired amount I lined up the calculator piece; there are loads of pictures in the gallery you can do this with. I chose one from the Edinburgh Art of Star Wars Exhibit in the Gallery of The Dented Helmet site to use. Although I don’t find it particularly good as a long term glue I used Super Glue to hold it in place. It’s good for this purpose because it sets quickly and it’s enough to hold it in place until the other stuff goes in.

The remaining keyslot gap was covered with a piece of offcut from the visor which appears to be what is in the ESB helmet. After that I used Millput to secure everything in place. 

After that I painted the various pieces of putty to more closely match the existing prop.
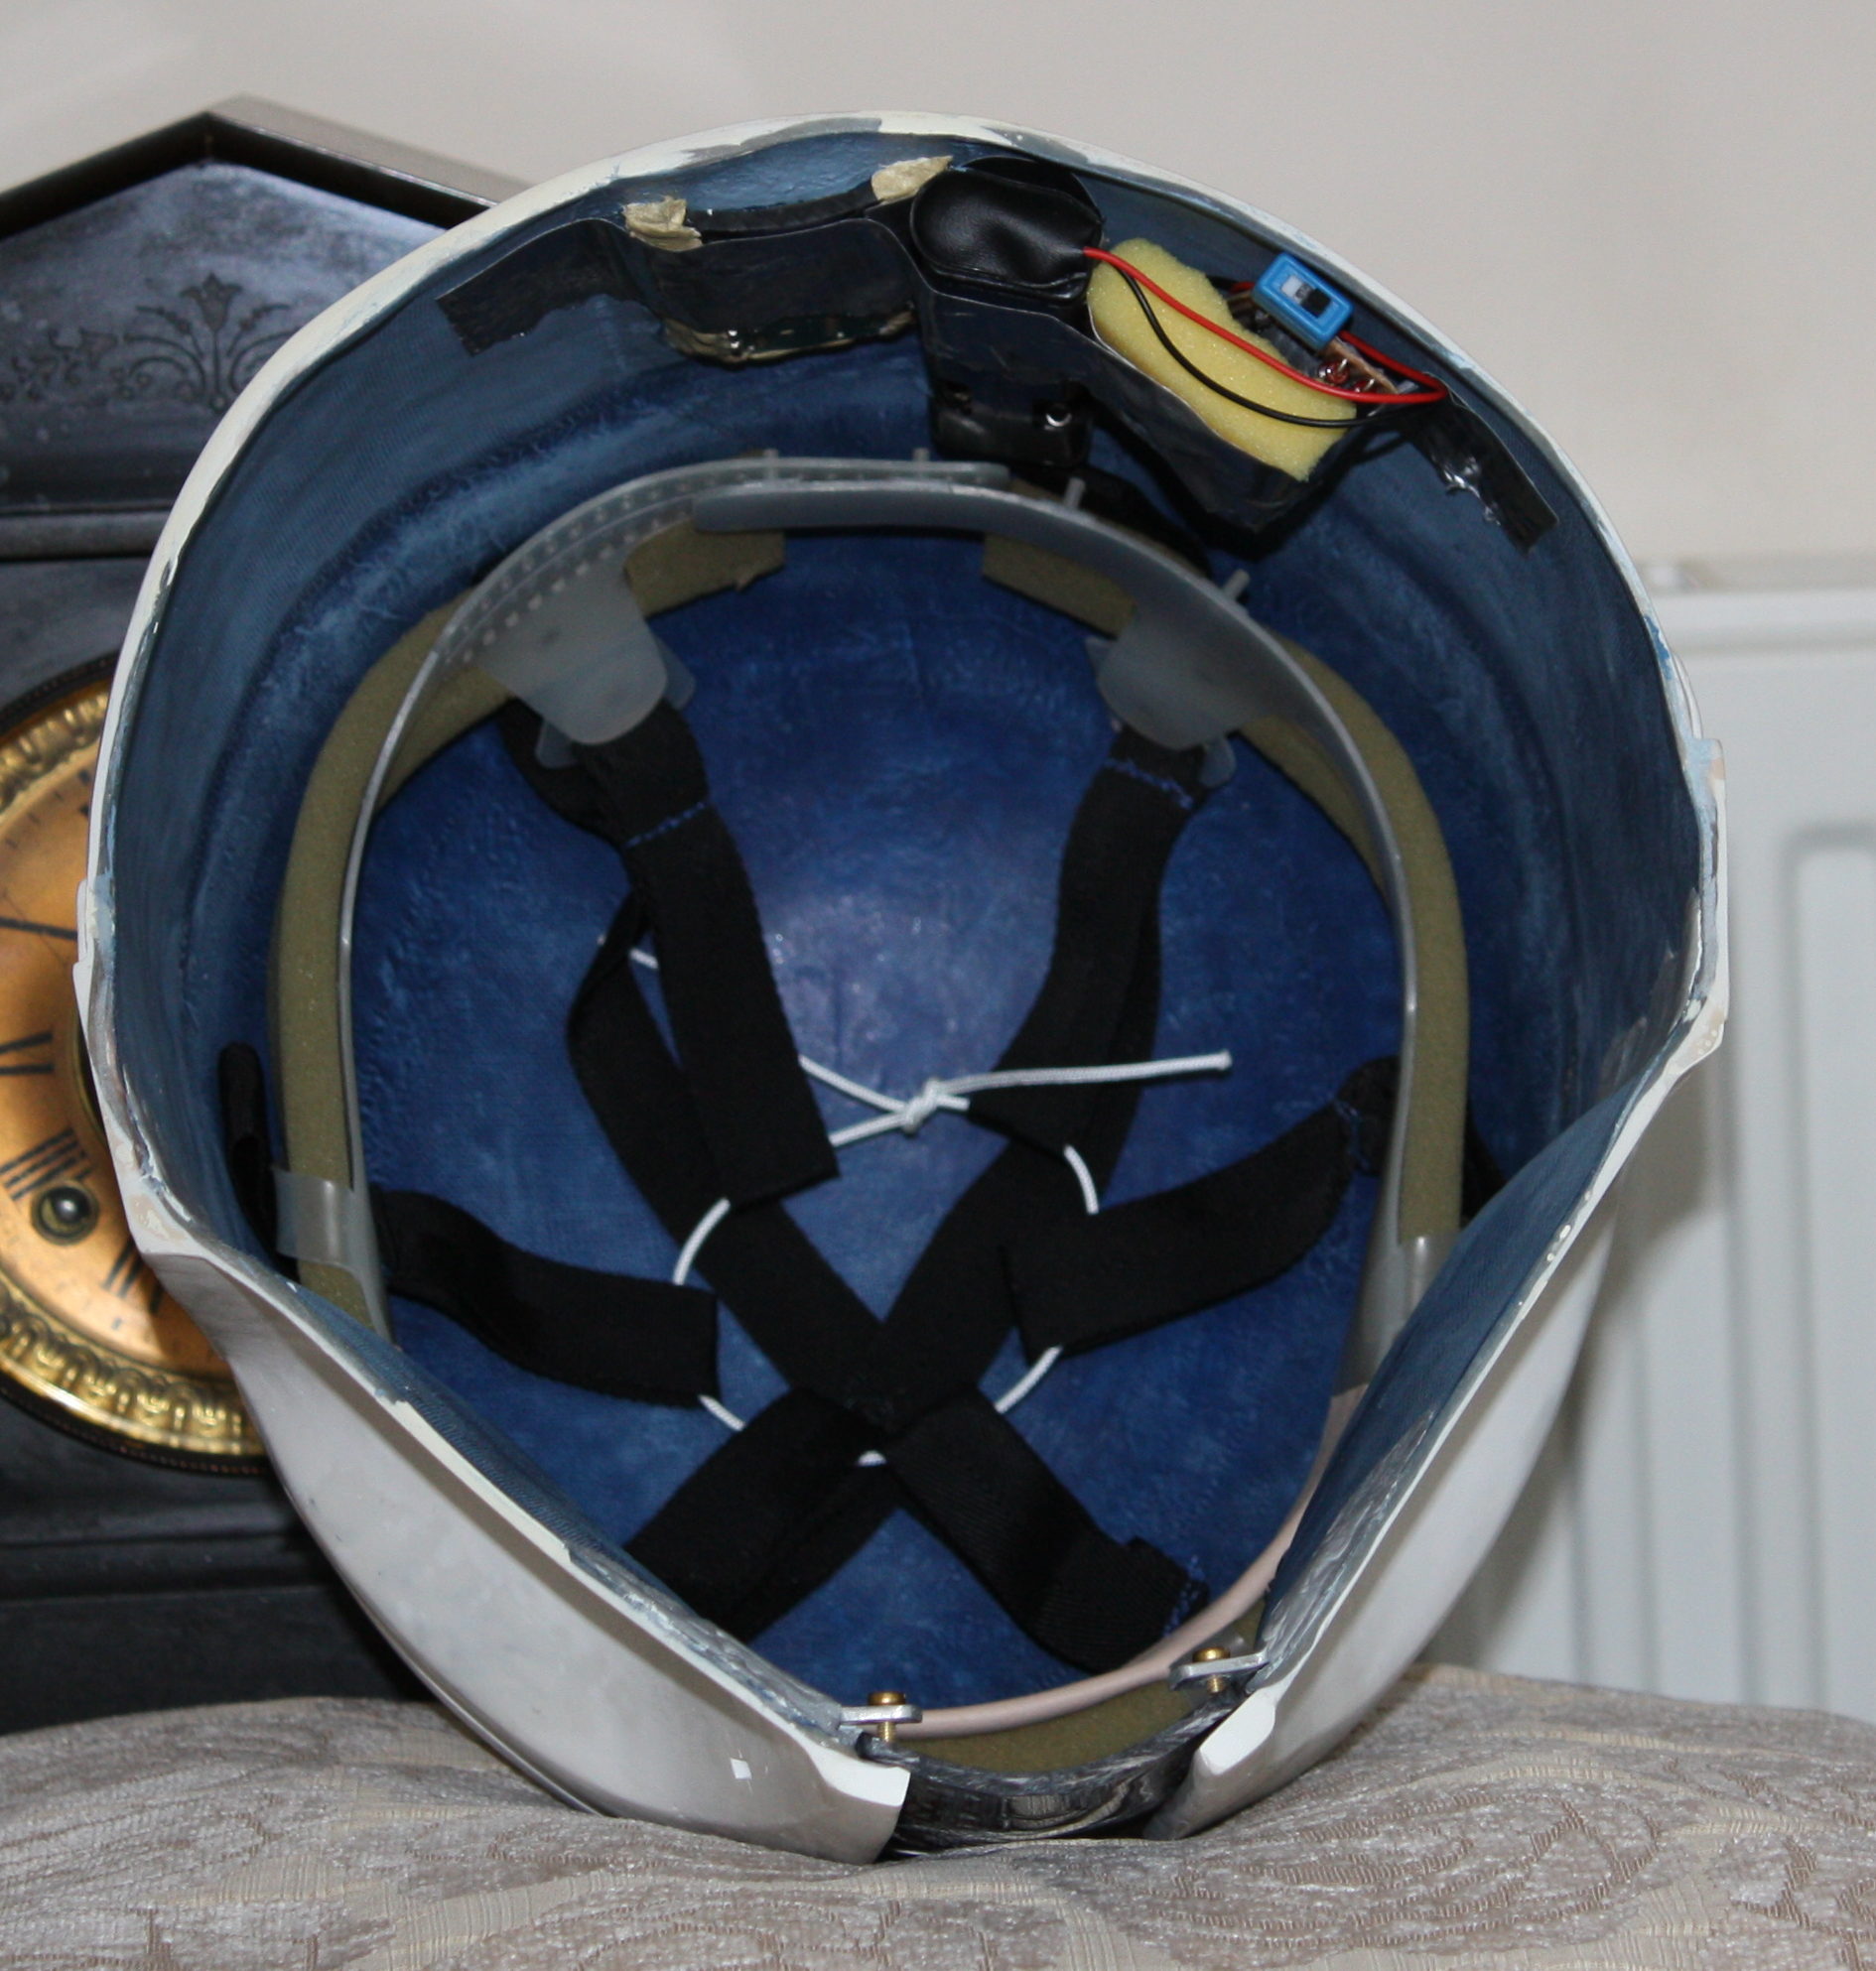
More will happen to finalise it so for now parts were just loose but below is how it looks with the cradle laid witin and the addition of the tape and a bit of crappy old sponge.

Elliott
RS propmasters
intwenothor
I like the MR based helmets although I would like someone to walk me through how the proto and production helmets differed apart from the mandible visor pinch.
I think the MR derived helmets are pretty much the best thing currently out there.