Painting the back Panels.
Safety First!
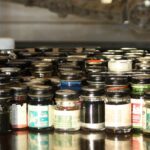
I’m starting off with painting the back panels, which is what a lot of people start with. I have done my very best to secure all vintage Floquil paints, as were used on the originals, or had them colour matched where supply was limited or the paints weren’t spraying out particularly well. My paint choices were based on the Lee Malone/Rogue Studios paint list compiled by Lee Malone many years ago. I may not have copied him at every turn as some of the colours he listed weren’t made in the 1970s, and so cannot be correct matches, but I believe his colour list is by far the best starting point. I’ve copied the Lee Malone list at the end of this post. It’s taken me several years to track down some of these vintage Floquils from both the Railroad and Military Floquil lines and I’ve recently acquired sufficient diversity to proceed to the painting stage. Huge thanks to Ryan and D for their endless and patient support in colour choices, guidance, observations, and securing correct colours.
As noted in the cover picture – Safety First; all of these paints contain harmful chemicals such as Xylene and Toulene but even the newer versions are petroleum based. I elected only to use newer versions where it was apparent that the hues were consistent with the older versions and because they would spray better.
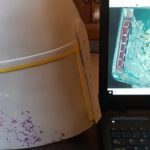
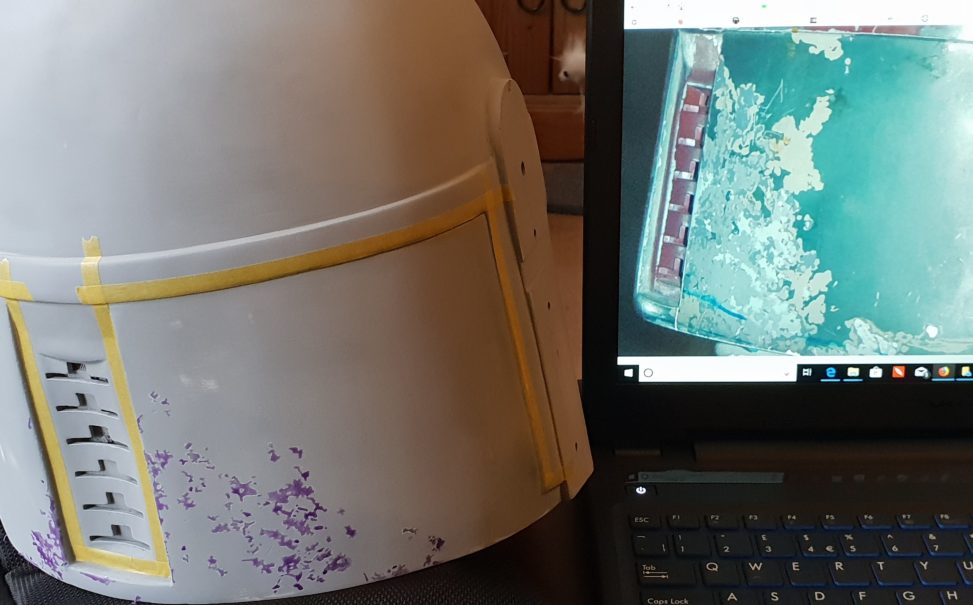
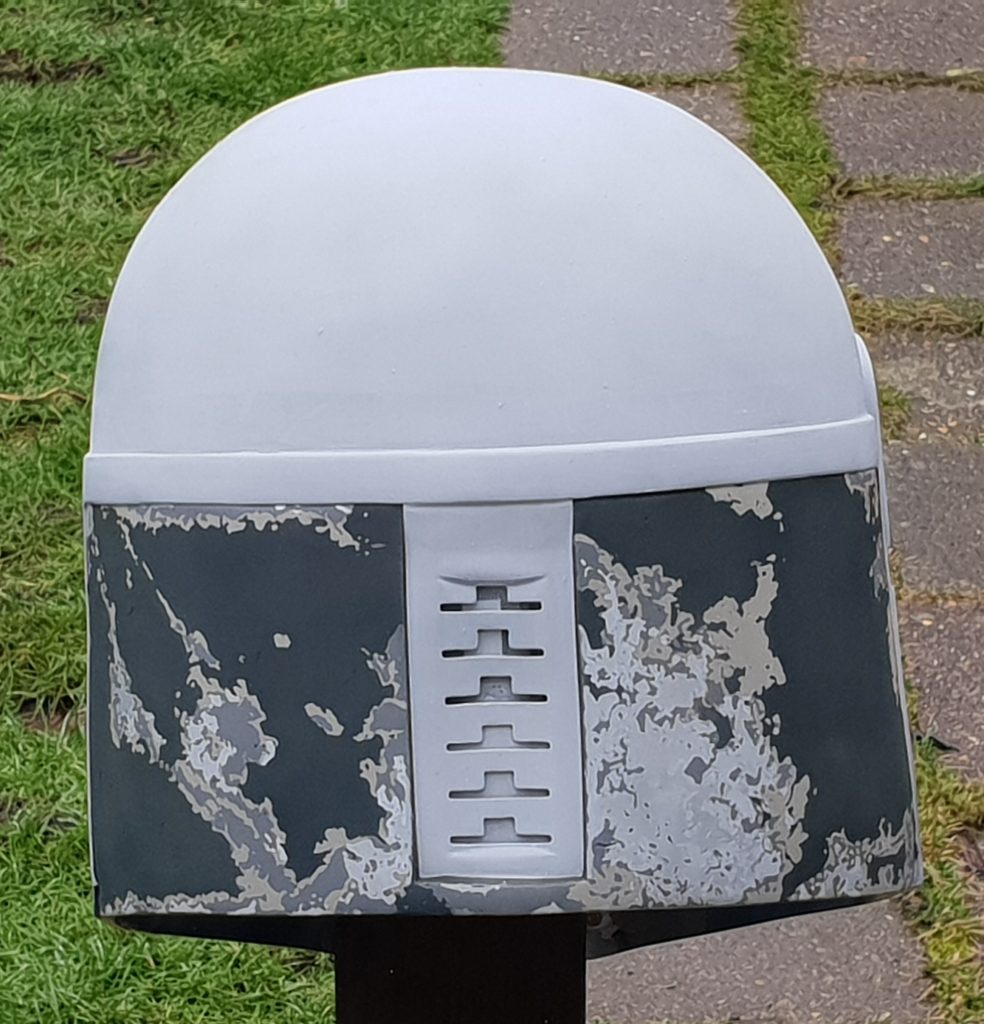
The masking of these panels is pretty time consuming but the first three colours have been laid down. Hopefully all will cure well and give good results when the peeling is done.
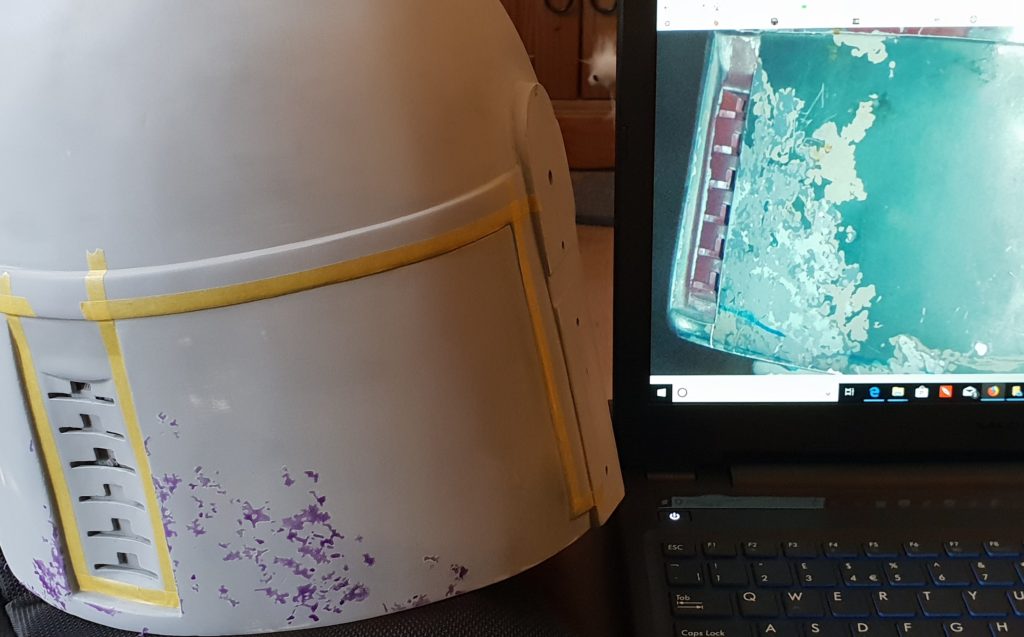
Masking off the base grey. 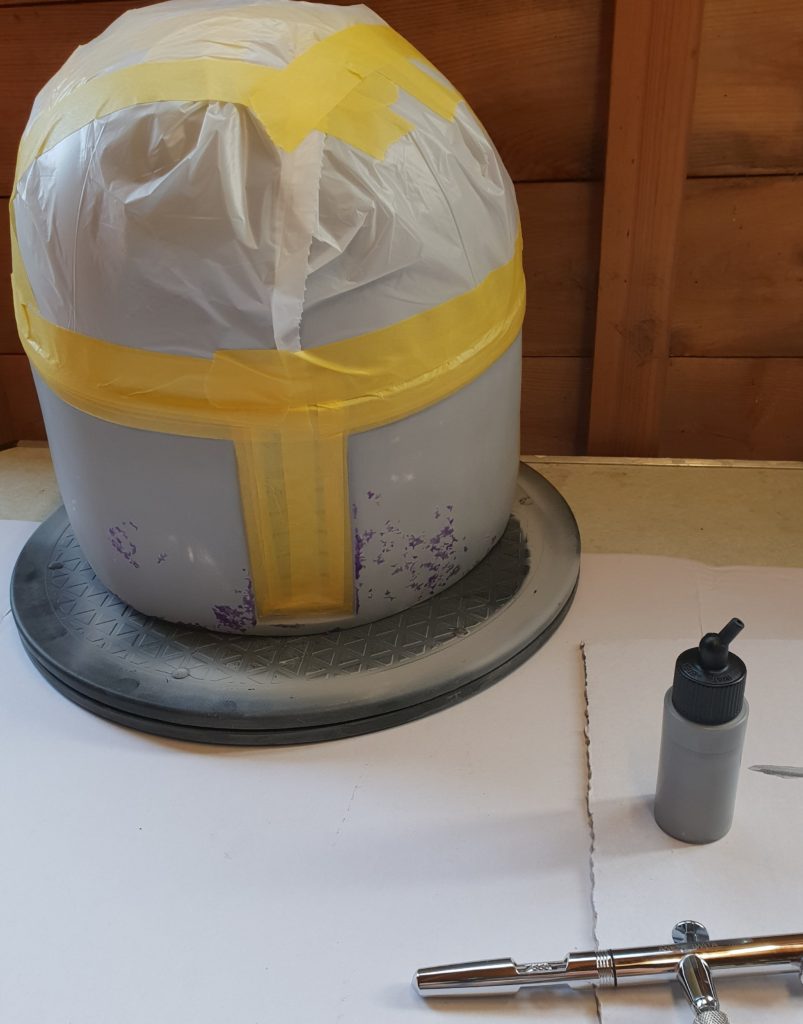
Masking off the base grey
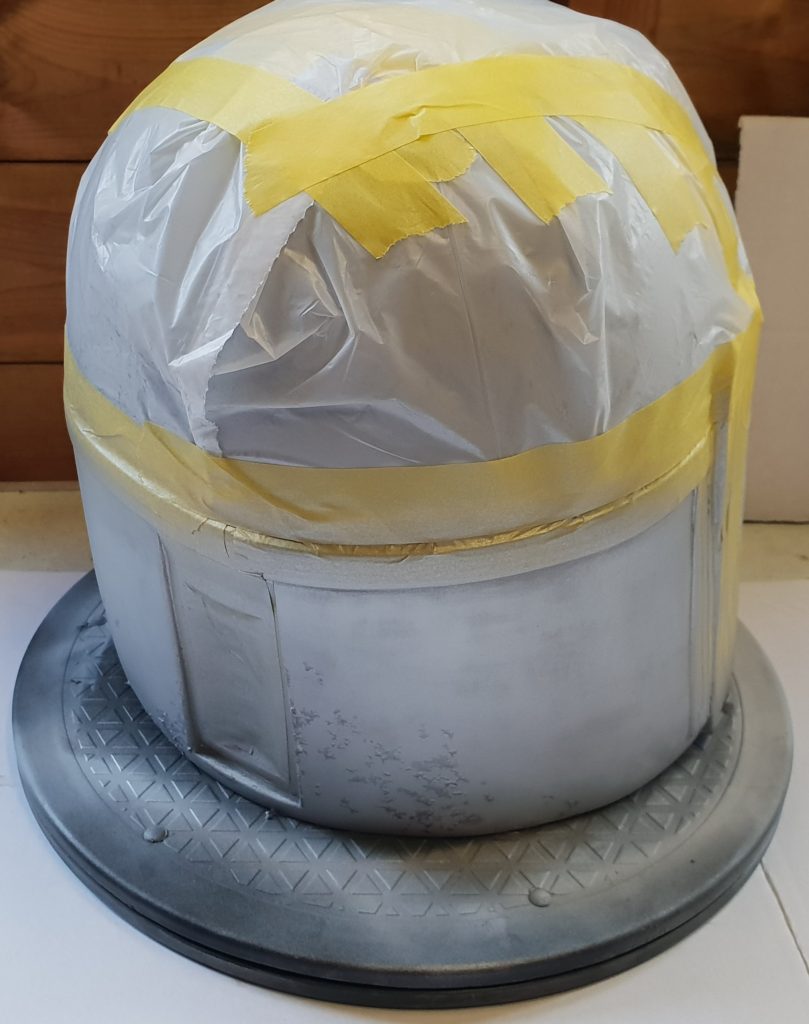
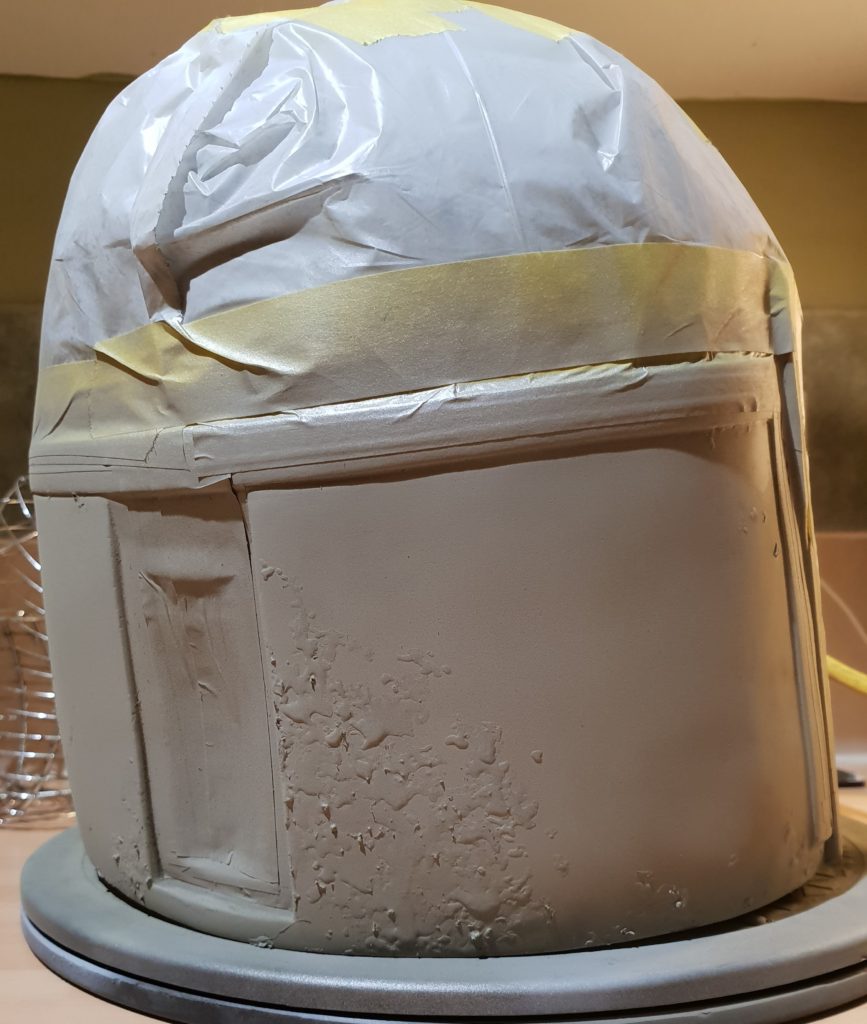
Concrete Down 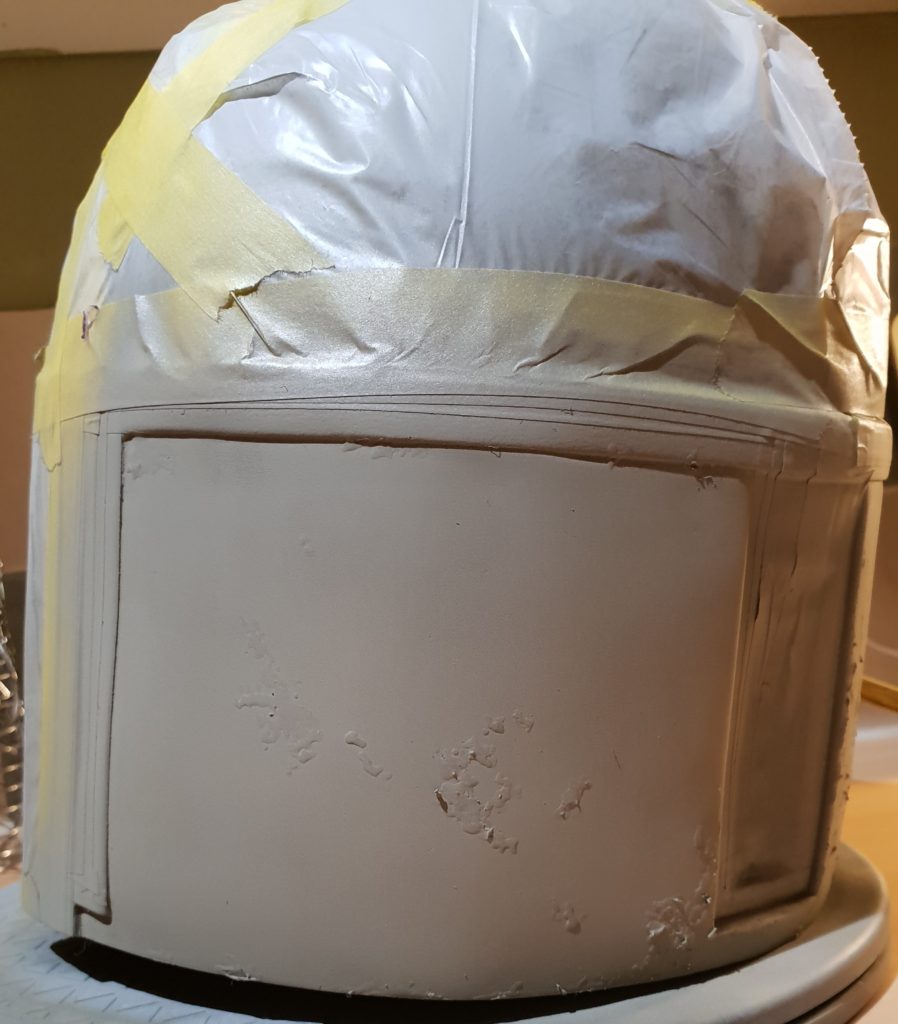
Concrete Down
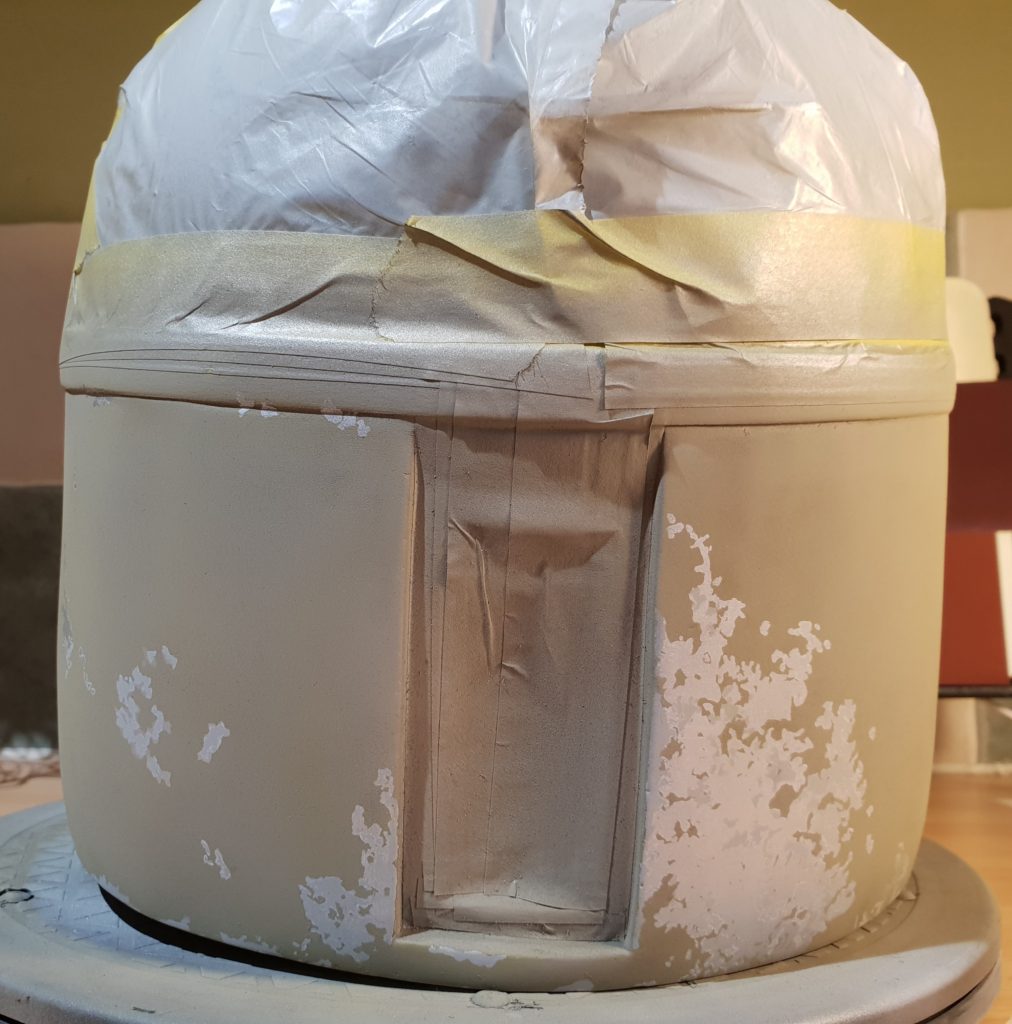
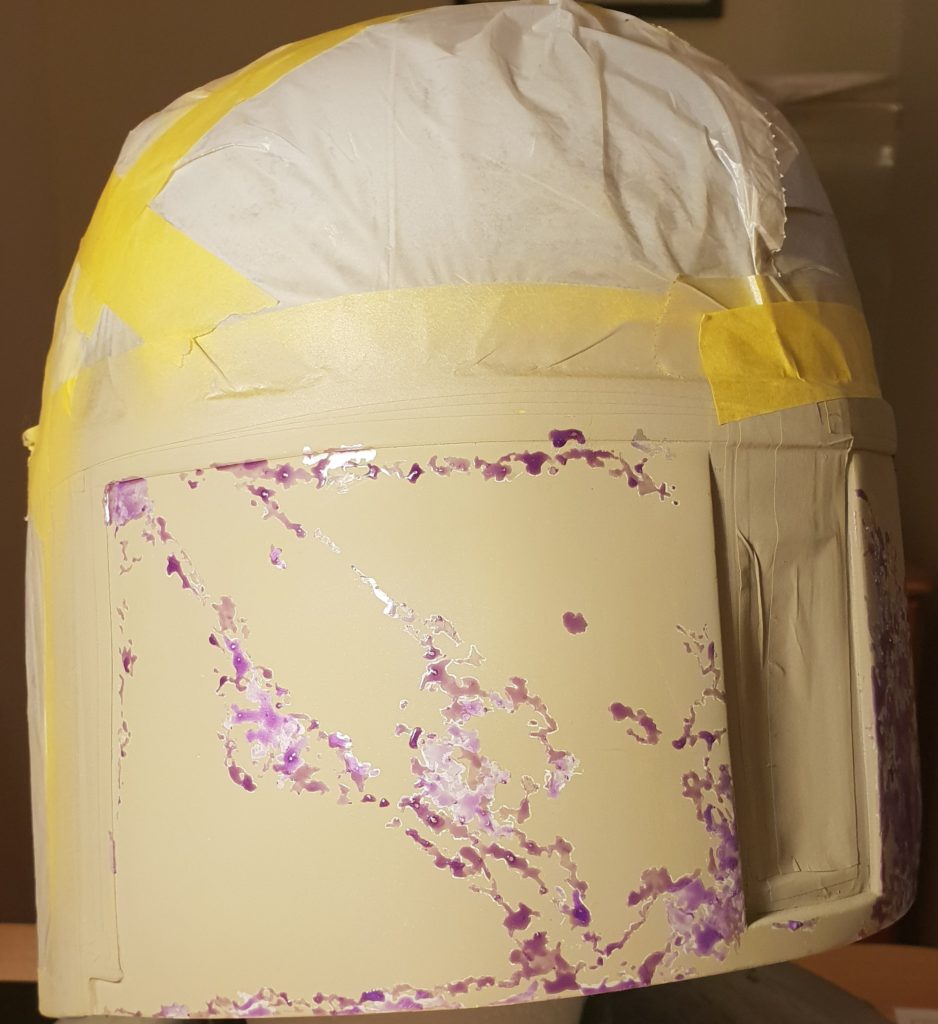
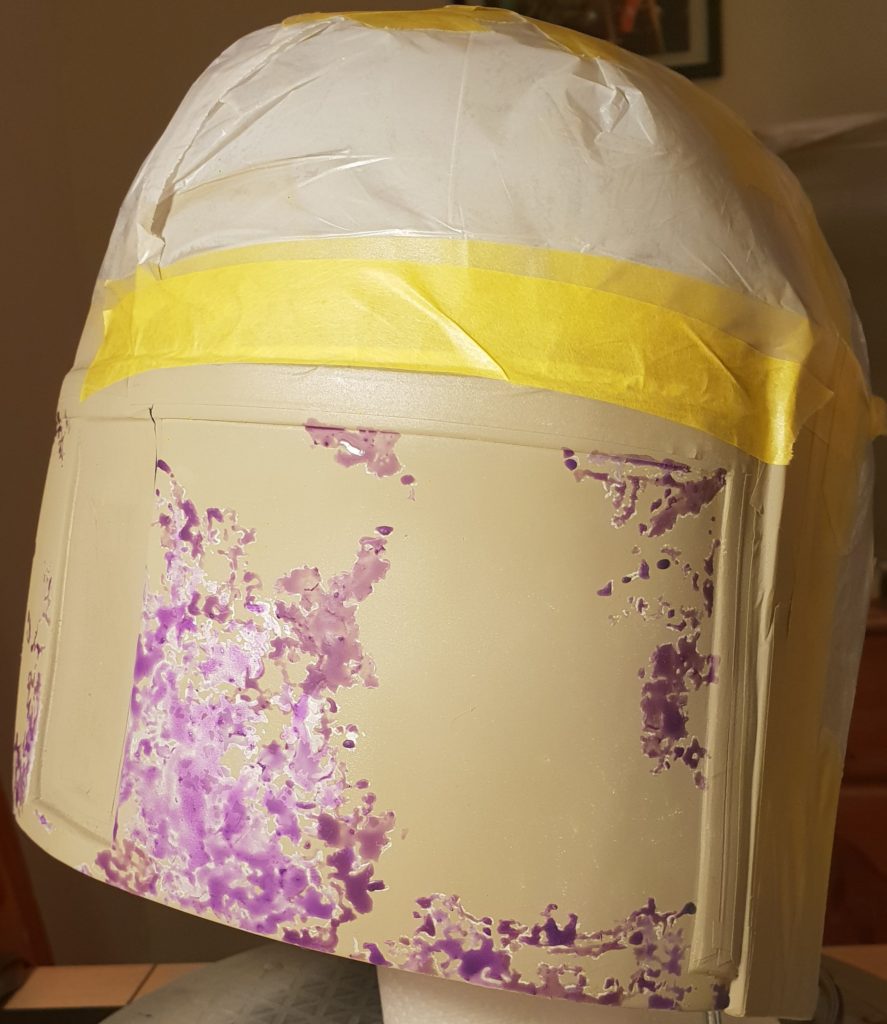
Below are the basic shapes mapped out with the grey and RLM73 green laid down. There’s still some touch up work to be done but this is where those panels sit right now.
Lee Malone’s Paint List.
This list is Lee Malone’s work, not mine, and I’m sure it took lots of research to get it to this point. So far as I know this is where he developed it to circa 2007; a massive gift to Fett fans.
“Helmet (Empire version)
* German Field Gray or Panzer Olive Green (Cheeks and dome) court is out on this one but GFG is a very old Floquil and was produced back in the day but not now so you’ll have to buy it from Tamiya.
* Caboose (not caboose red) (mandibles) * Reefer Yellow Vertical stripes (update) also the look of this strictly dependent on heavily applied it is and don’t apply heavily on frontal stripes
* Reefer Gray update (Gray around scratches)
* Rust (various locations)
* Chrome (scratches) I think this was actually a color called bright silver but this works best.
* Main color back of helmet- RLM73
* Back of helmet scratches- Concrete
* Earth Enamel(Rangefinder ear) I hate this paint.
* POG Green Update!(Left ear)
* PRR Green(I like weathered black better) (Inside cheeks) this is practically black.
* Caboose (Red scratches on left ear).
* Light Gray (on left ear) any light gray will do.
* PRR Maroon for the dark color on mands may need to darken this color with a touch of black. I know the original color but Floquil hasn’t made the color for almost 20 years so it’s very very hard to find and this will do trust me.
I almost forgot. You have to tone down the helmet with an acrylic wash in a few cases depends on how the helmet looks after painting. Basically get some of that blue window wash you use for the car 95 cents a gallon at your local store. put in a cup but keep it away from children it’s poisonous believe it or not. Add a few drops of black acylic paint thus making a dirty cloudy water type mixture(not very much paint is used in this). Get a mister bottle and put the blue window cleaner in it so you can mist down dark spots and even out the finish. Don’t go too heavy and using your mixture in the cup brush it on and if it’s too dark just mist it and dabb with a paper towel. Do a little bit at a time and I would suggest not to do it all in one sitting or it will come out too dark. This blends the helmet and reduces the contrast of some colors I’m fairly confident this was done on the original.”

