Removing the Ears.
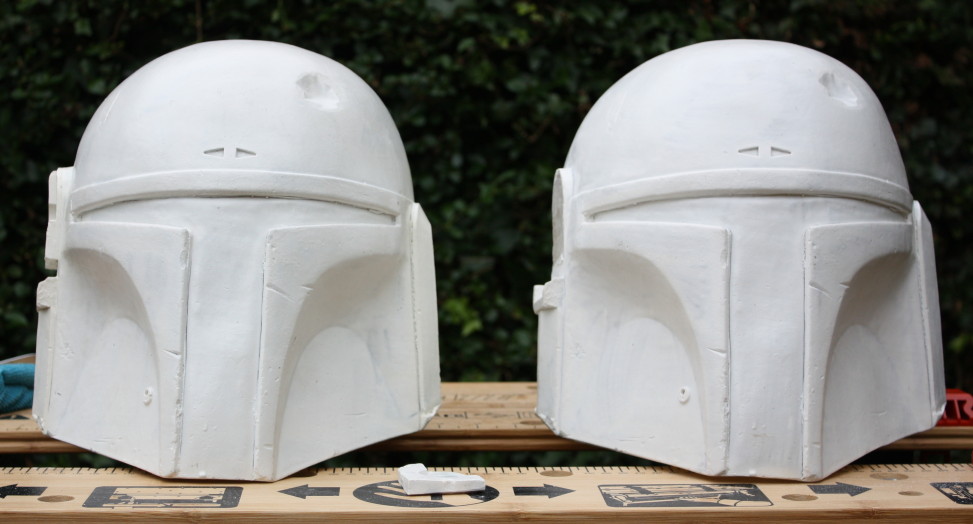
In order to create my ultimate Fett helmet I need to make some fairly extensive alterations to one of my PP2 casts. In effect I need to make the helmet a ‘Vanilla’ as a base to work from. This series will chart the process from start to finish.
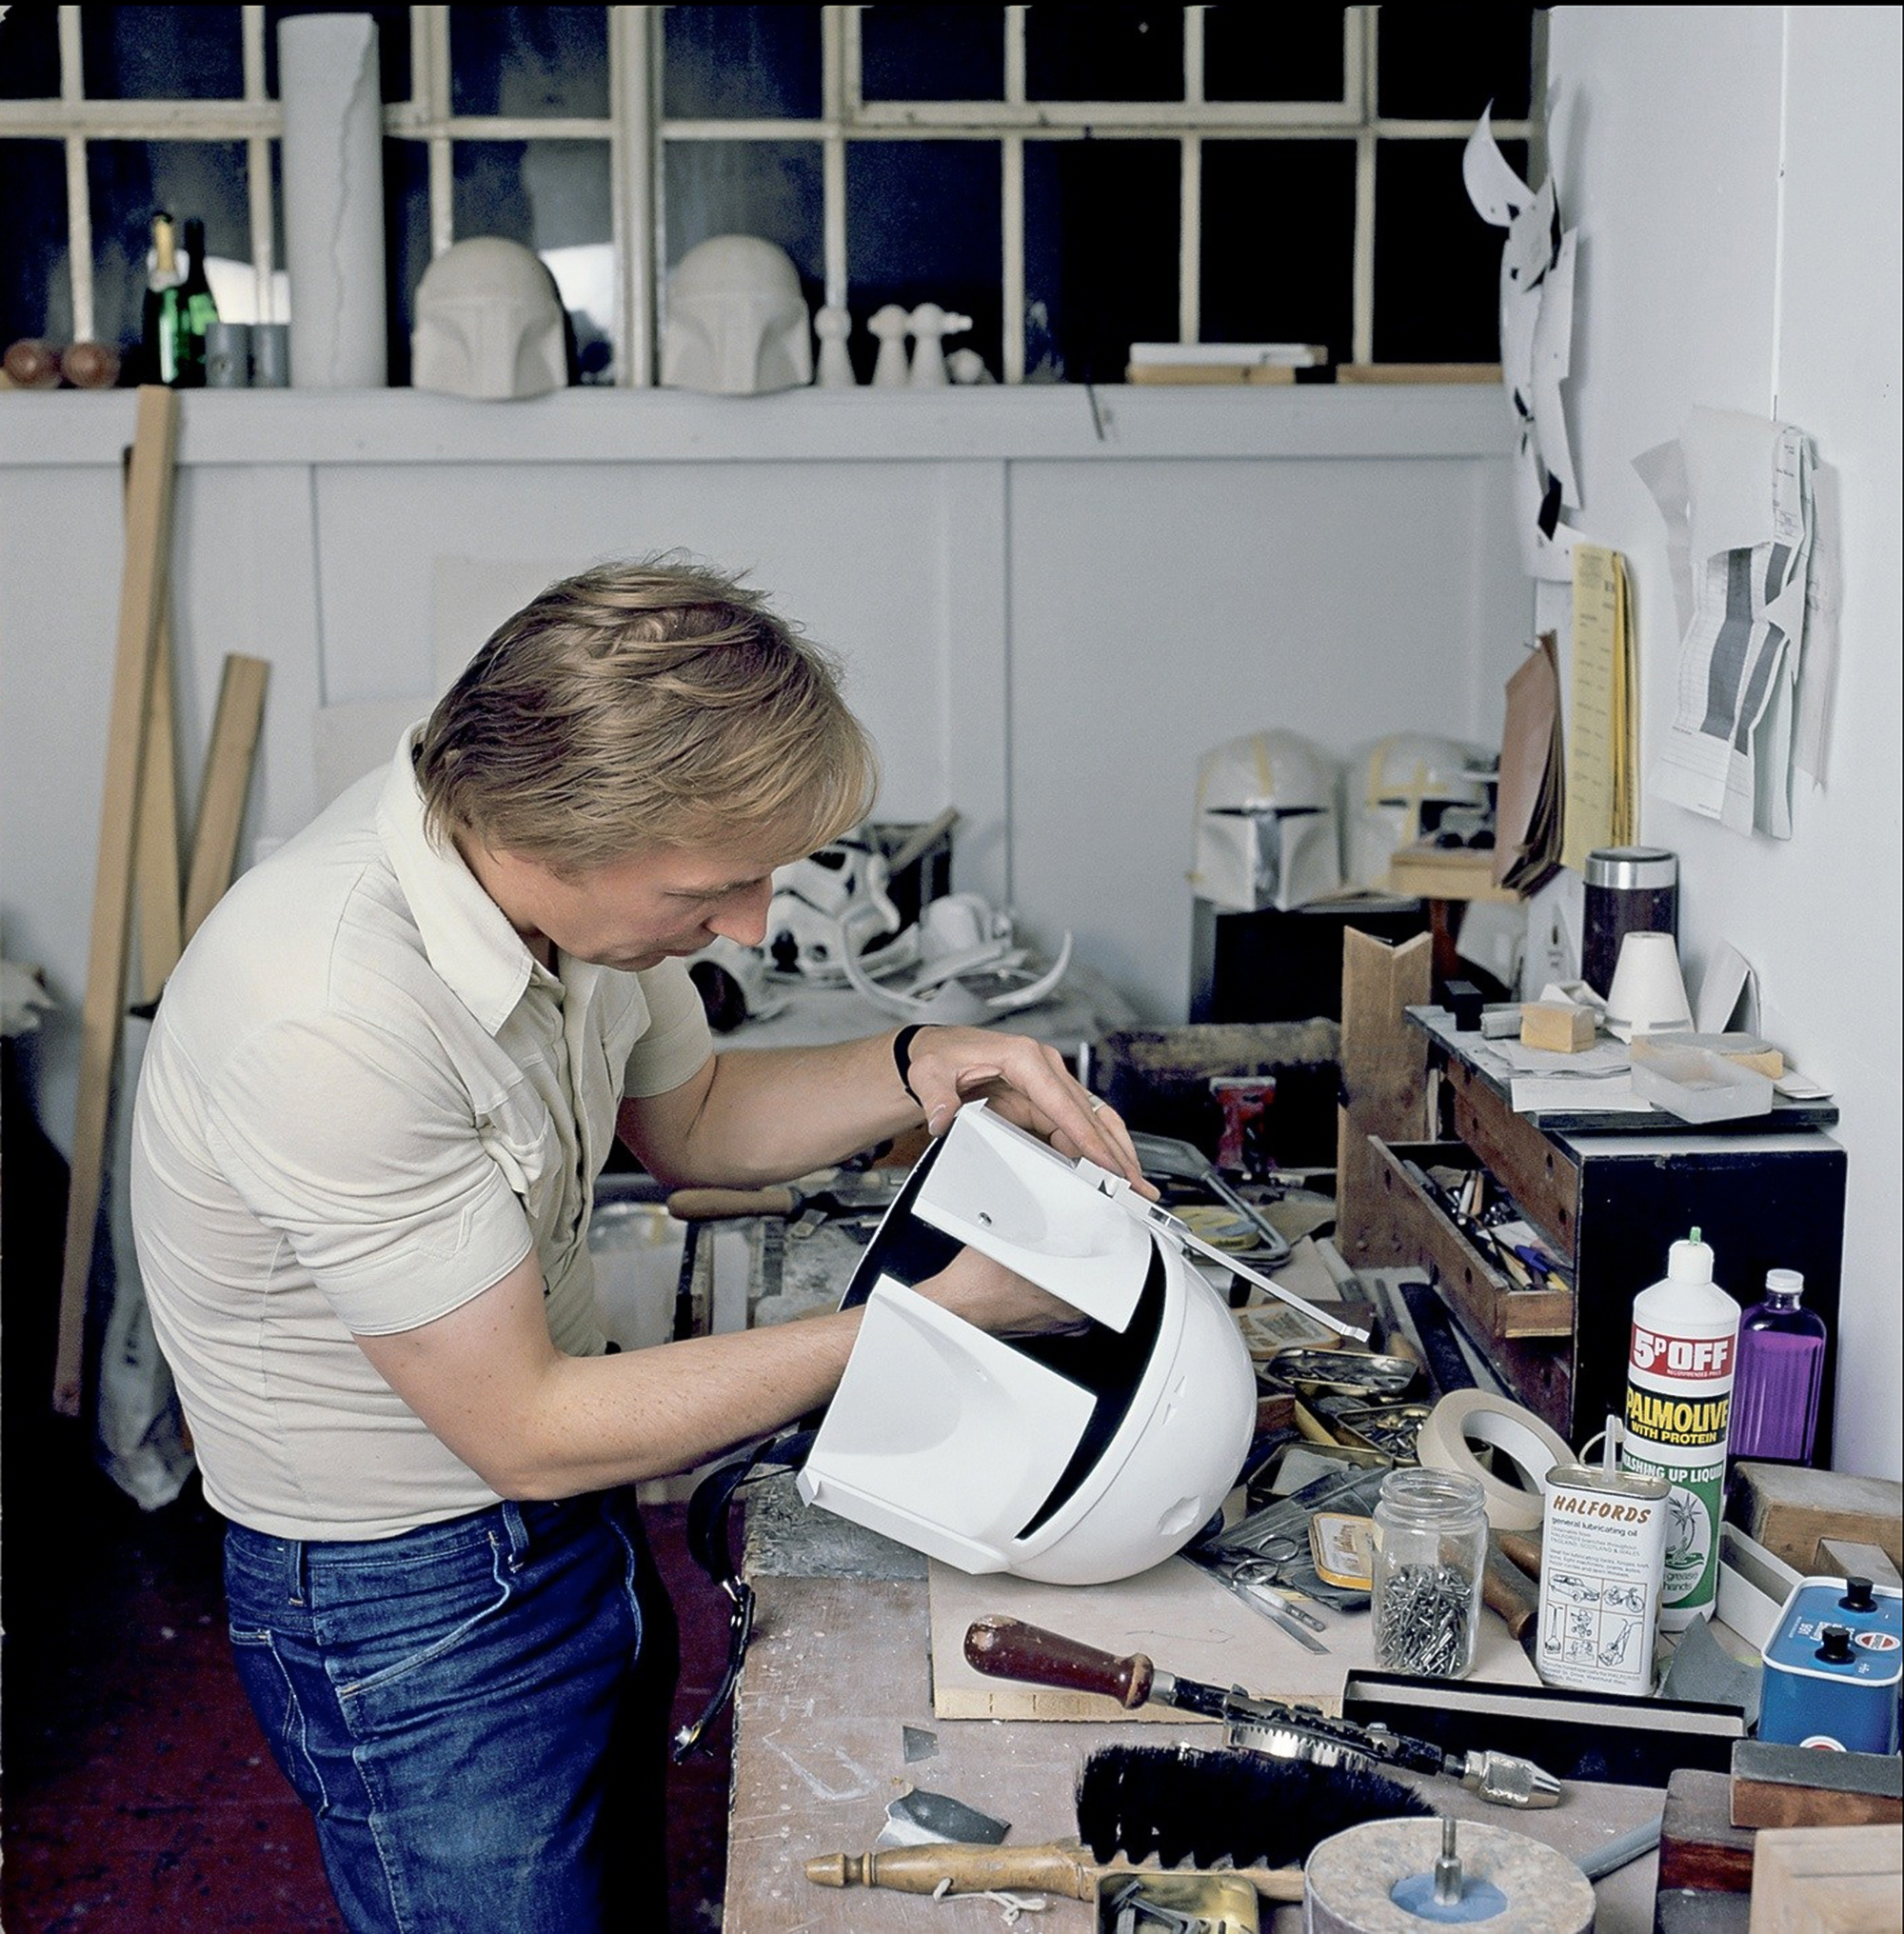
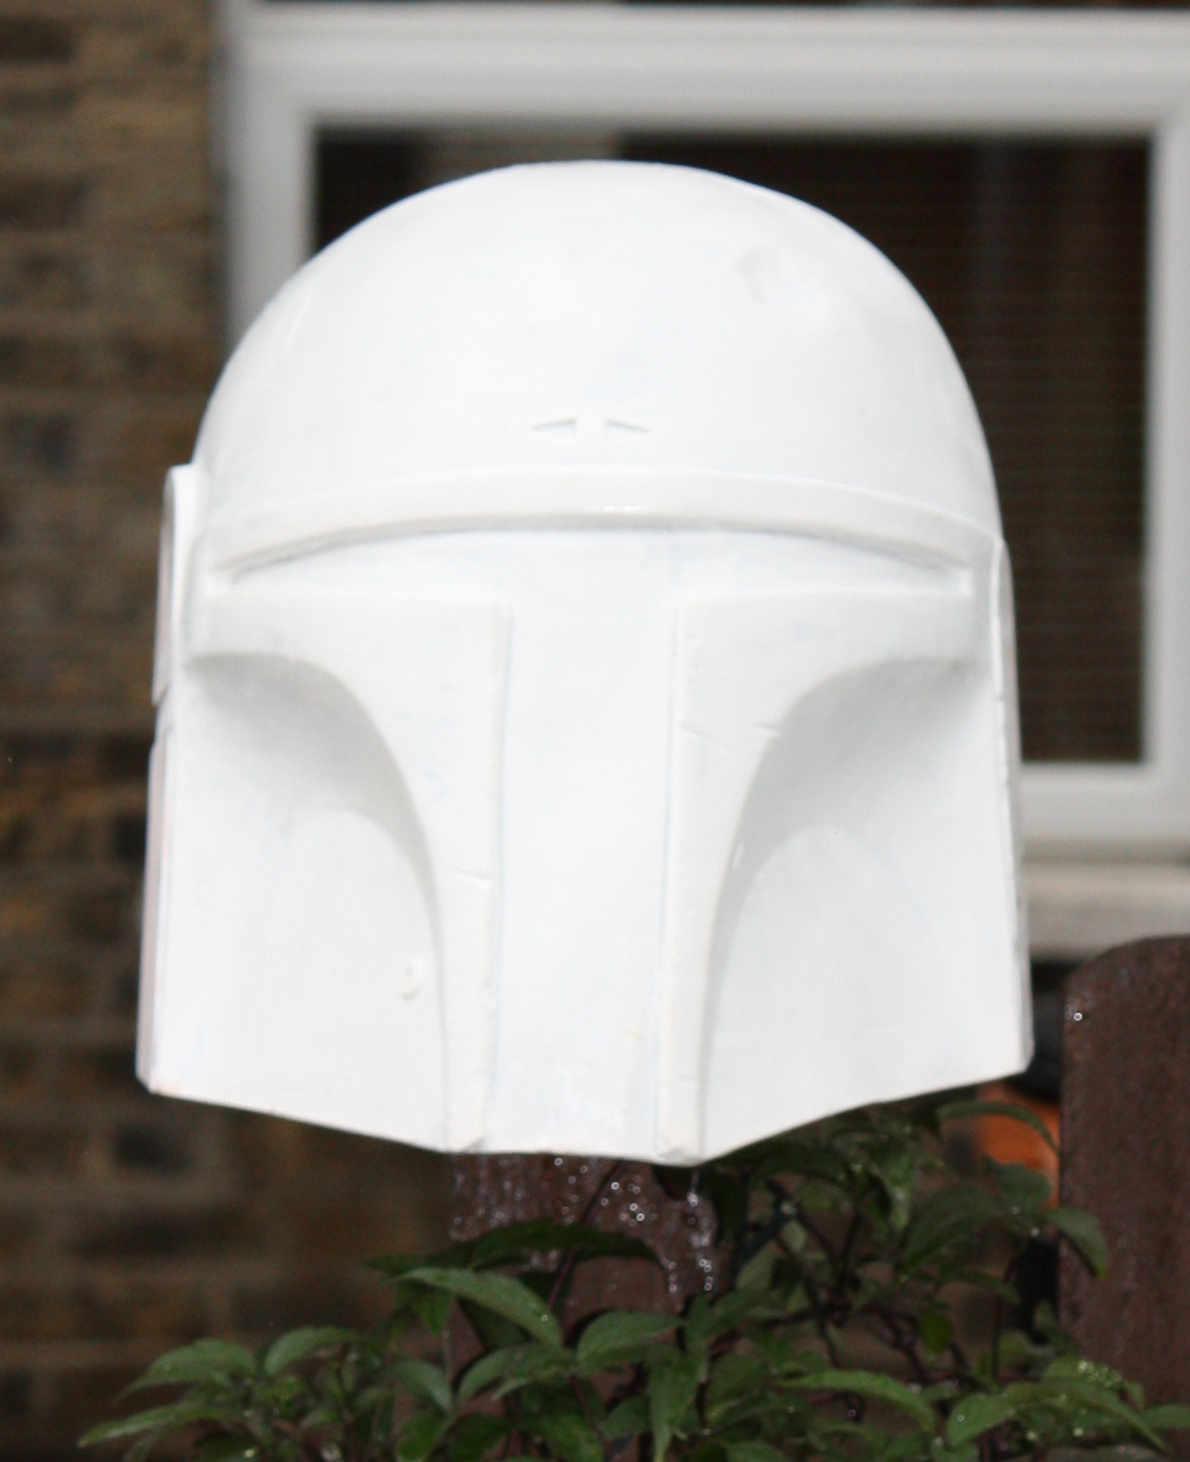
Here is one of the original six helmets being worked on before the character had been revised from the ‘Stormtrooper 2/Supertrooper’ into the unique character Boba Fett.
Removing the Ears.
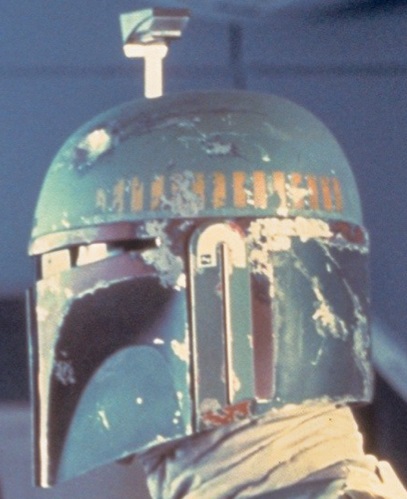
As noted in an earlier post I want to replicate the ESB Hero Film helmet and as I was lucky enough to acquire two copies of the Pre production 2 buck I decied to use cast number four to do it. The casts both have the ears cast in as does the buck and whilst they’re useful for reference purposes they’re not up to scratch for the final build; the buck has sustained damage to the ears over the years. In any event the original helmets have machined aluminium ears so I want metal ears too.
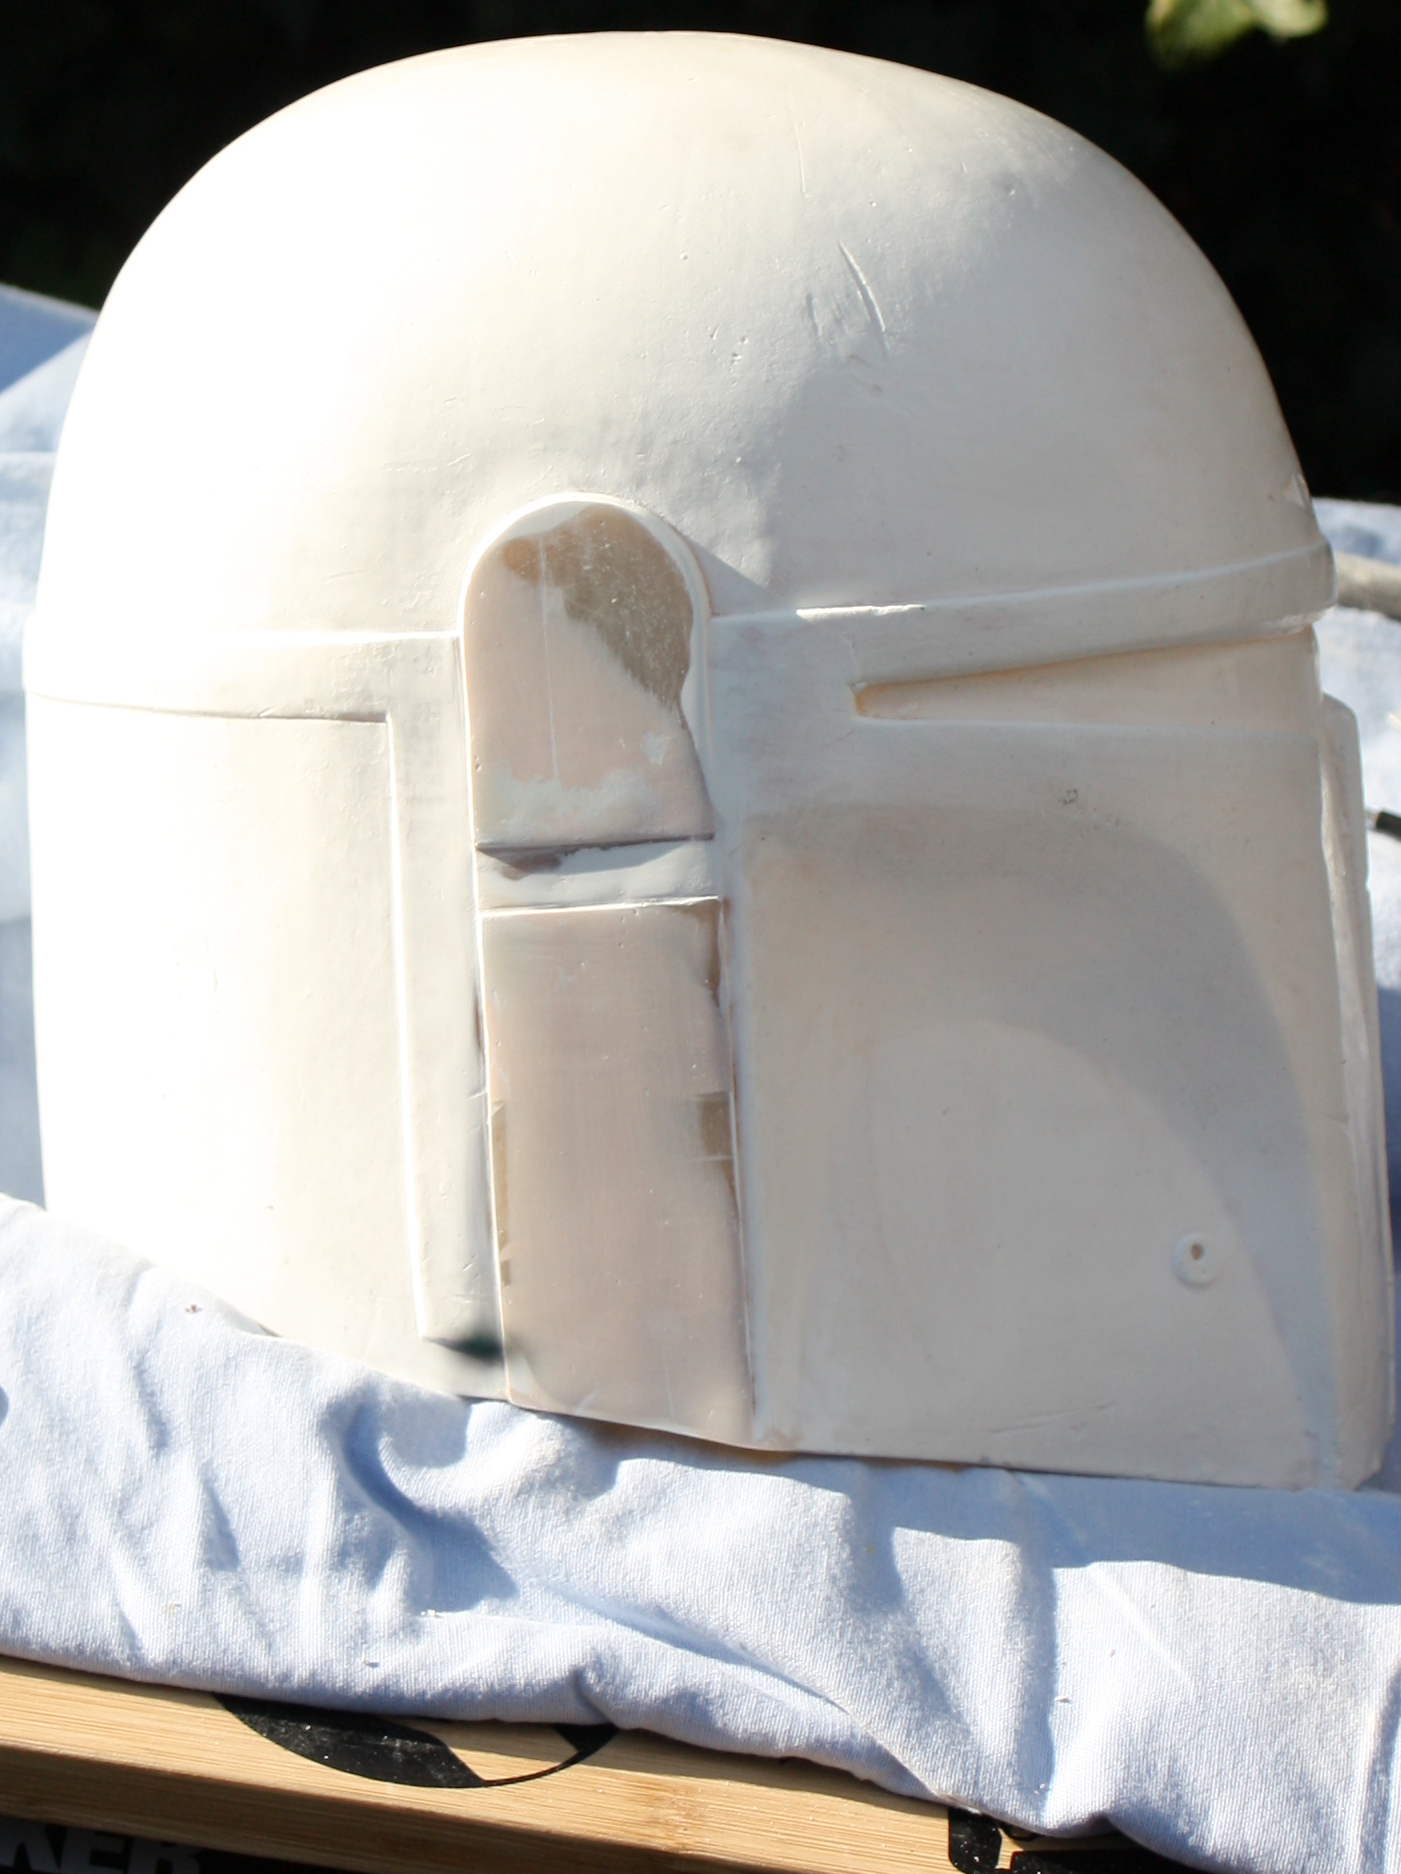
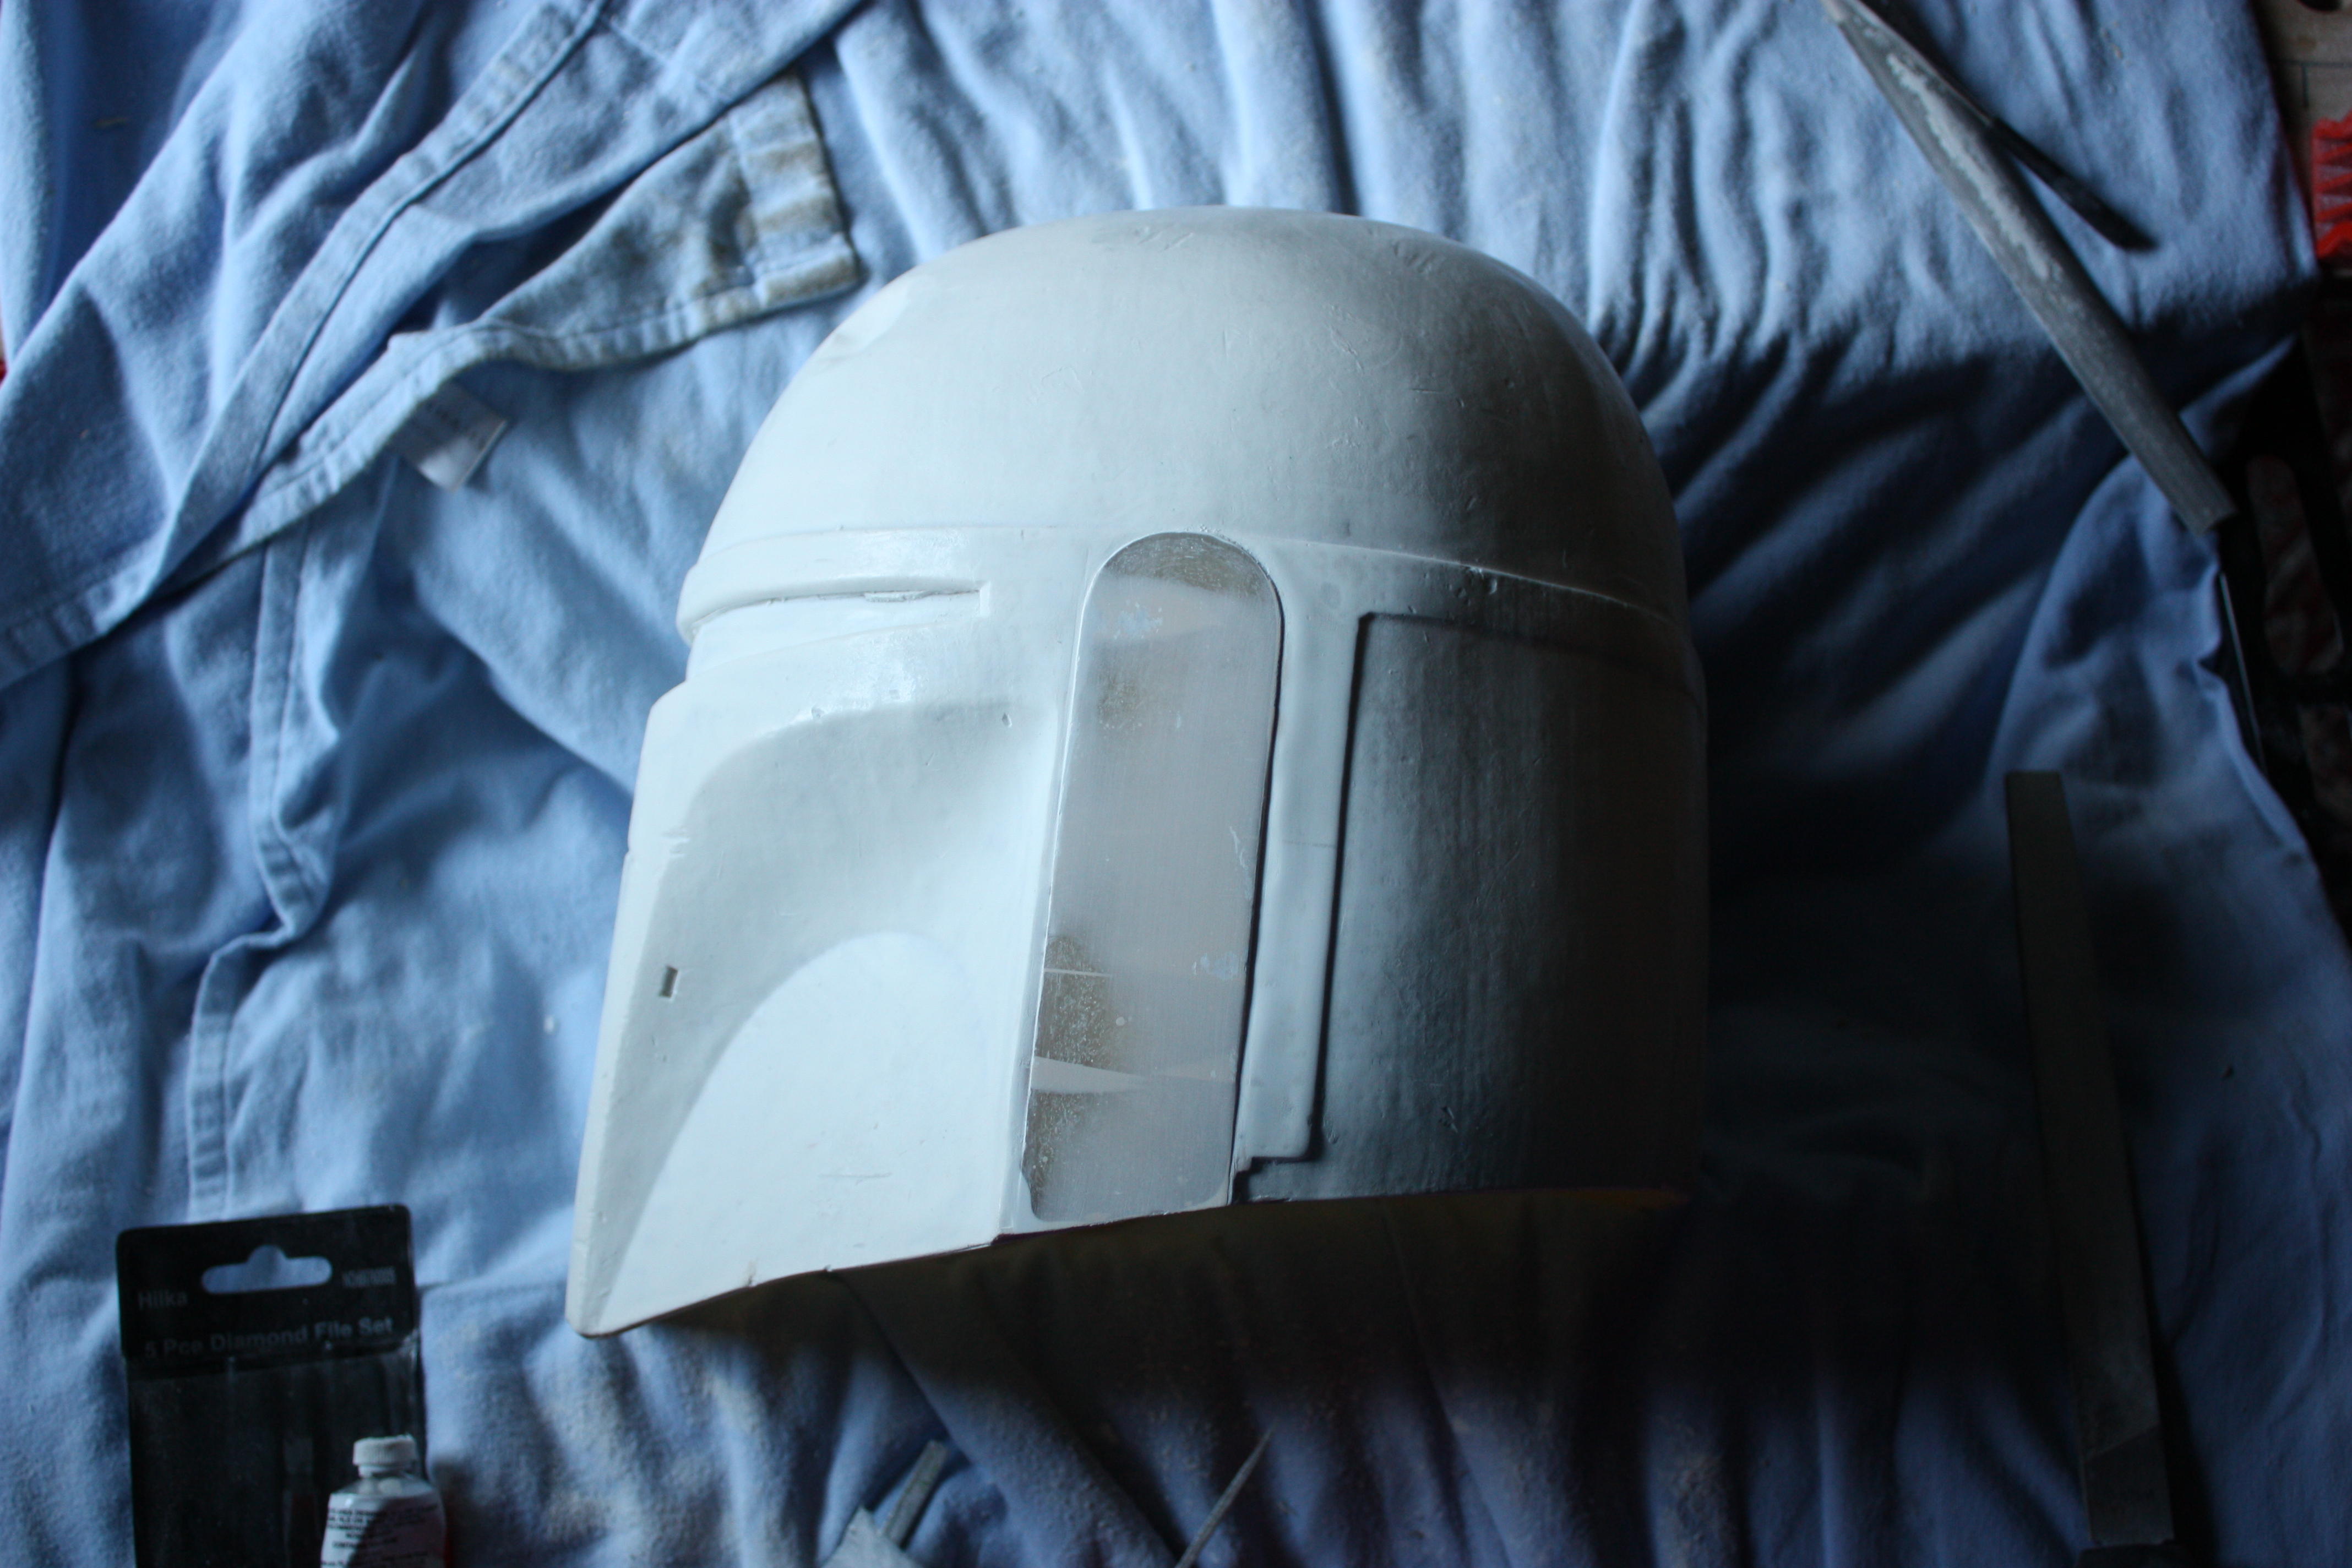
That means I need to remove the ears from my cast. I chose this as one of the first steps because it’s highly invasive and quickly establishes a crossing of the Rubicon. I gave lots of consideration on how to do this as it’s actually quite a delicate task with one of the problems being that the ears should actually sit on very shallow raised platforms (think millimetres) and don’t sit flush to the helmet itself. That essentially ruled out the easiest method of removing them i.e. grinding them down. In the end I decided to use a coping saw due to the large area above the blade that would give lots of room to move. I started with the upper right ear.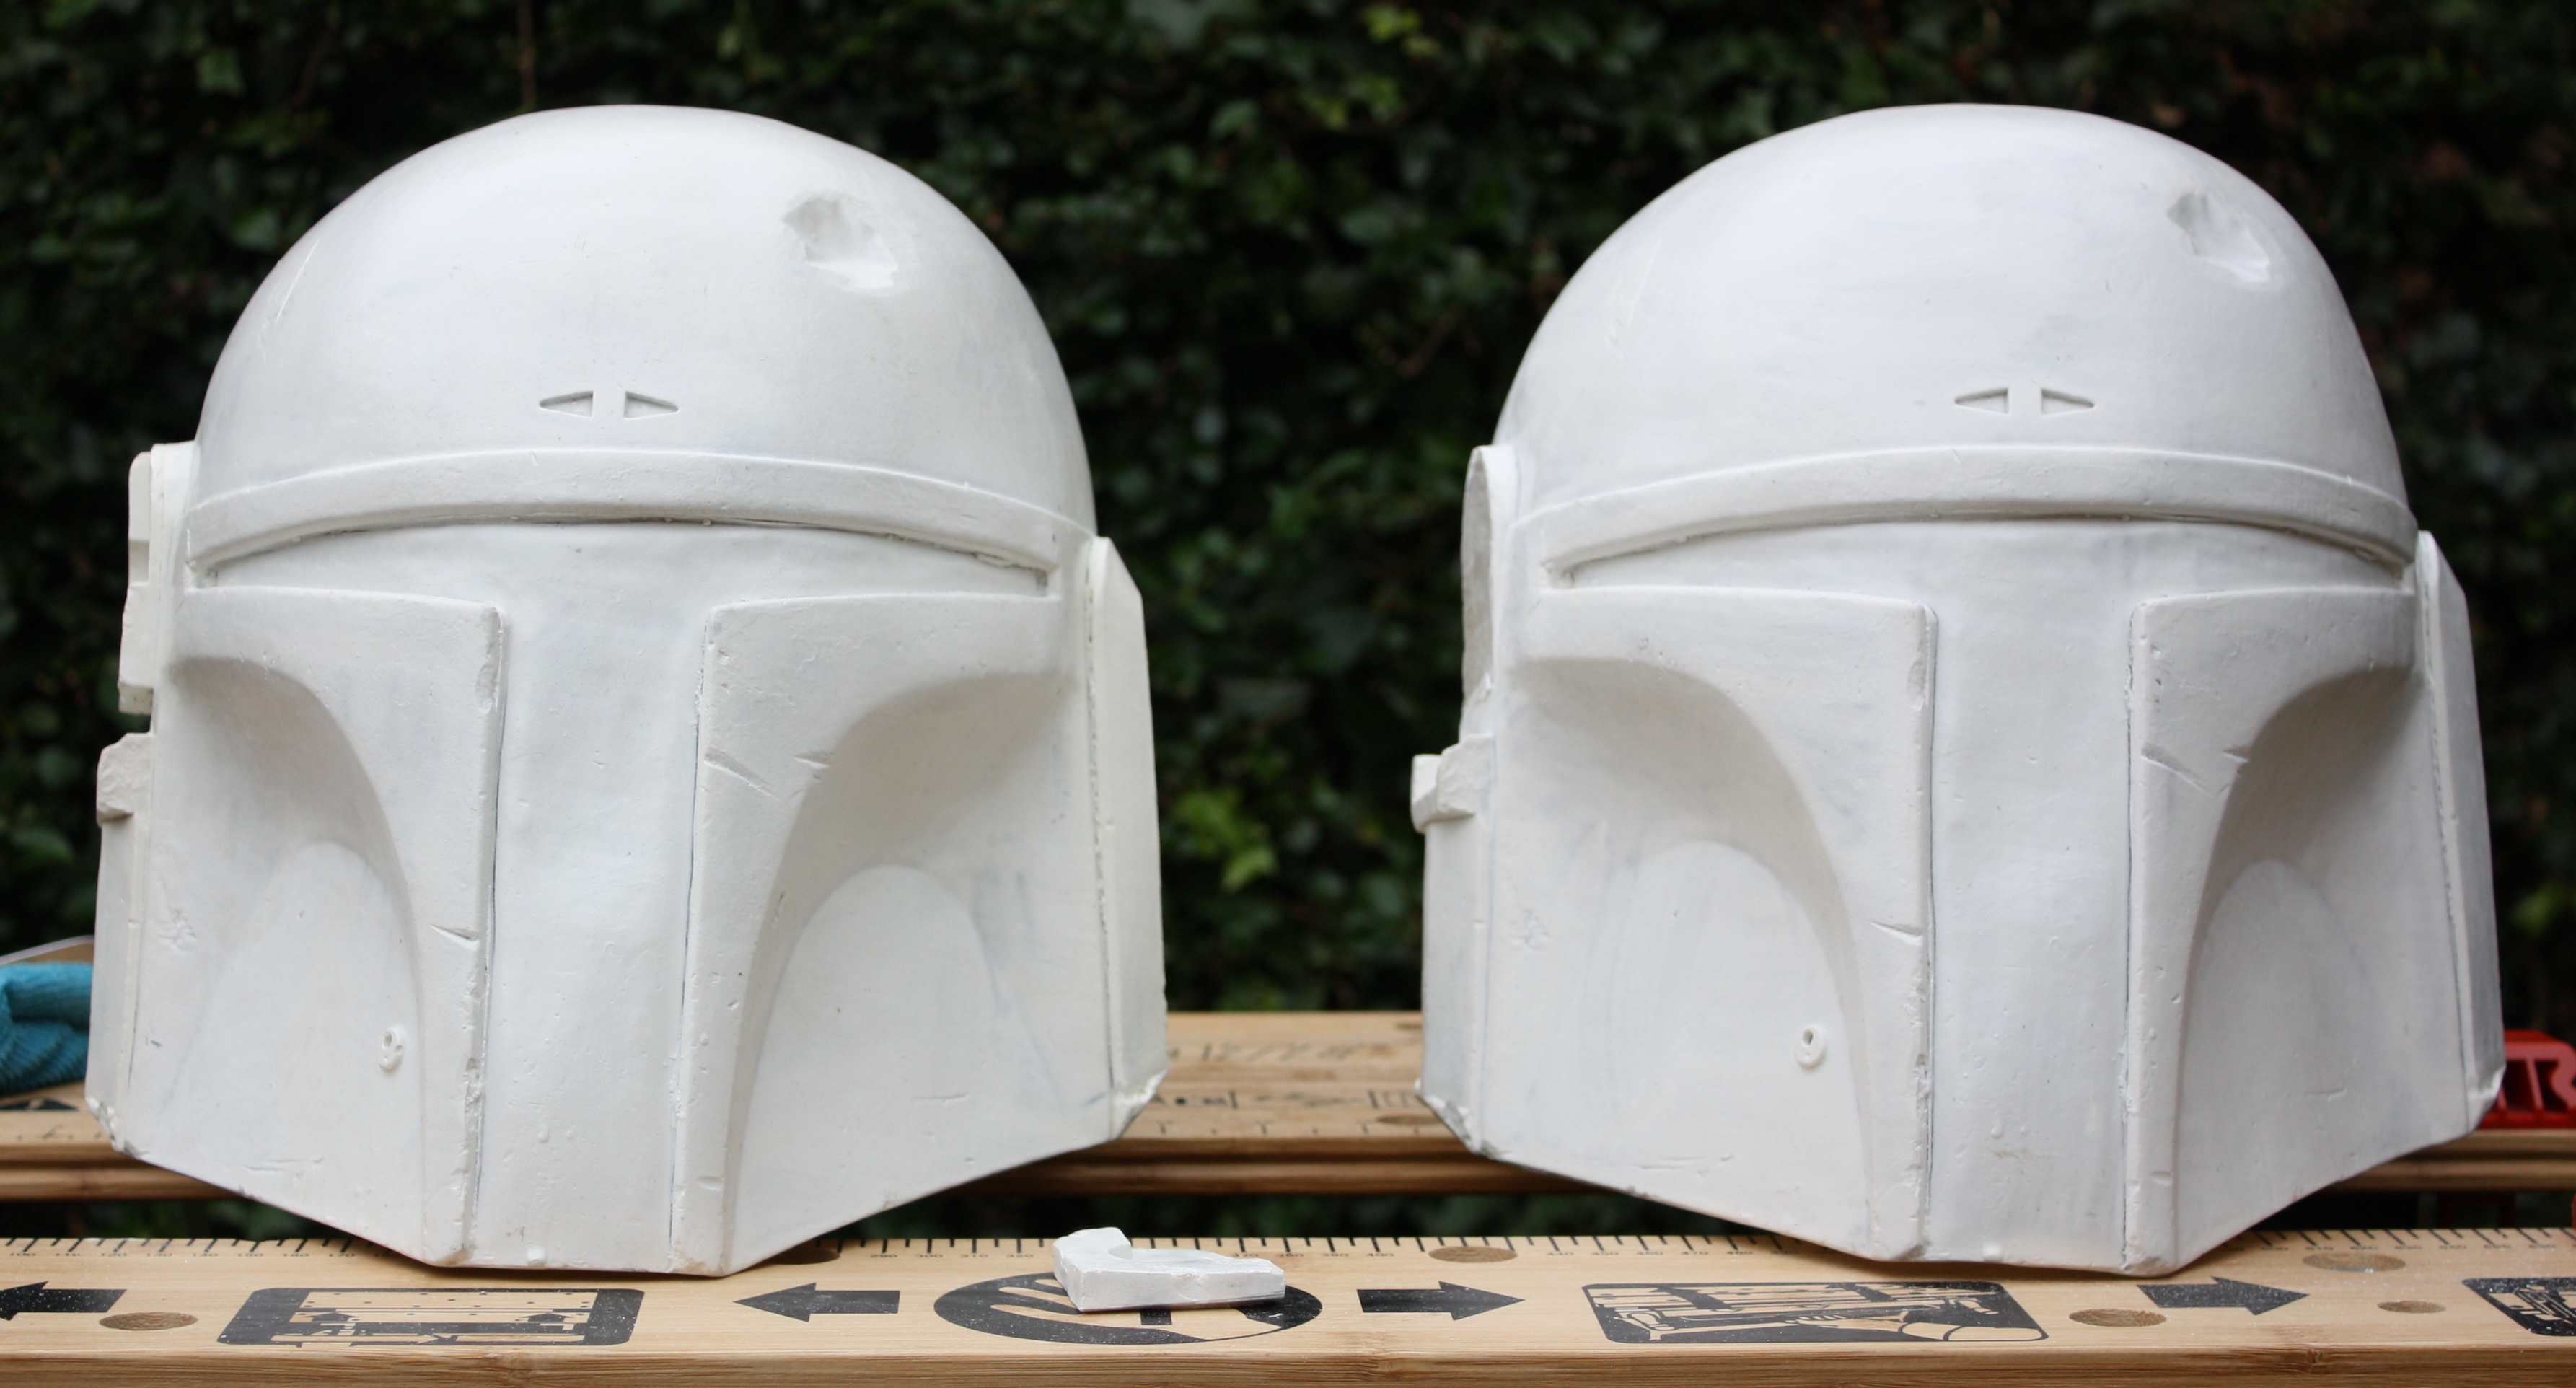
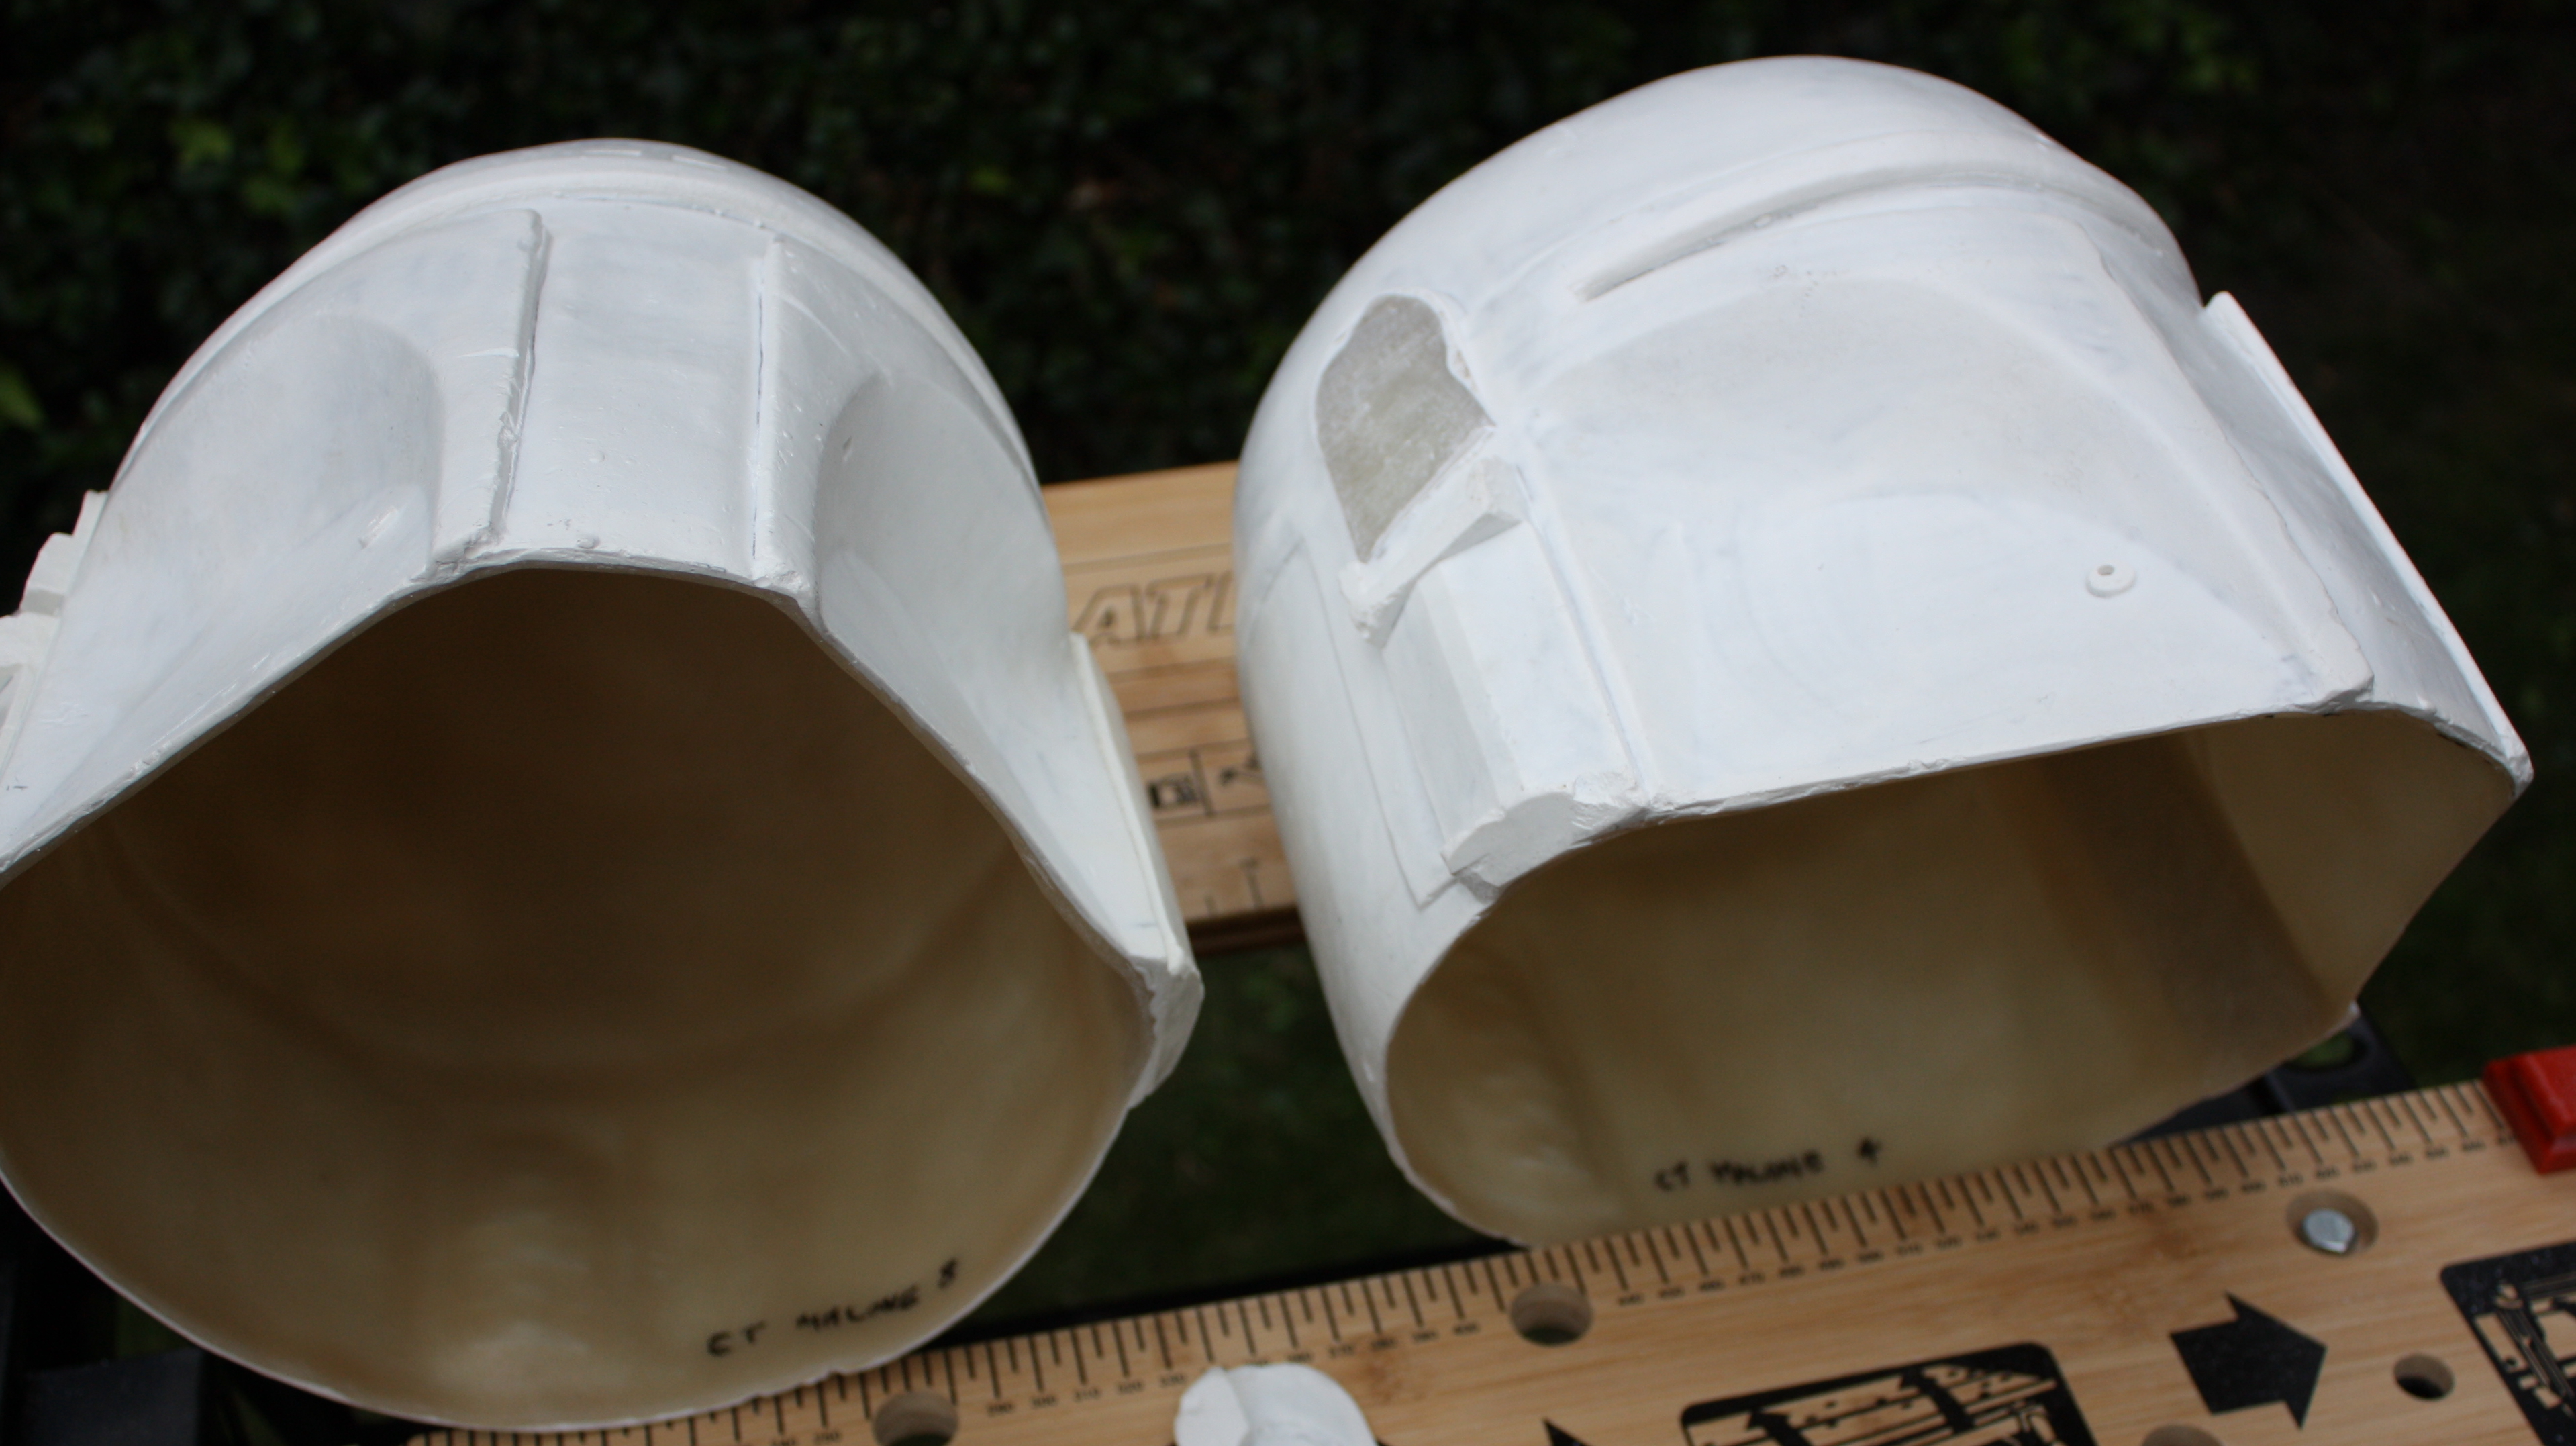

Whilst the results were quite good you can see the cut isn’t absolutely clean. although this was still the cleanest ear part cut off. Composite material like this fibreglass helmet are notoriously difficult to cut through and have a tendency to blunt blades extremely quickly. To give you an idea it took several hours just to cut off this one small piece about three inches in height.
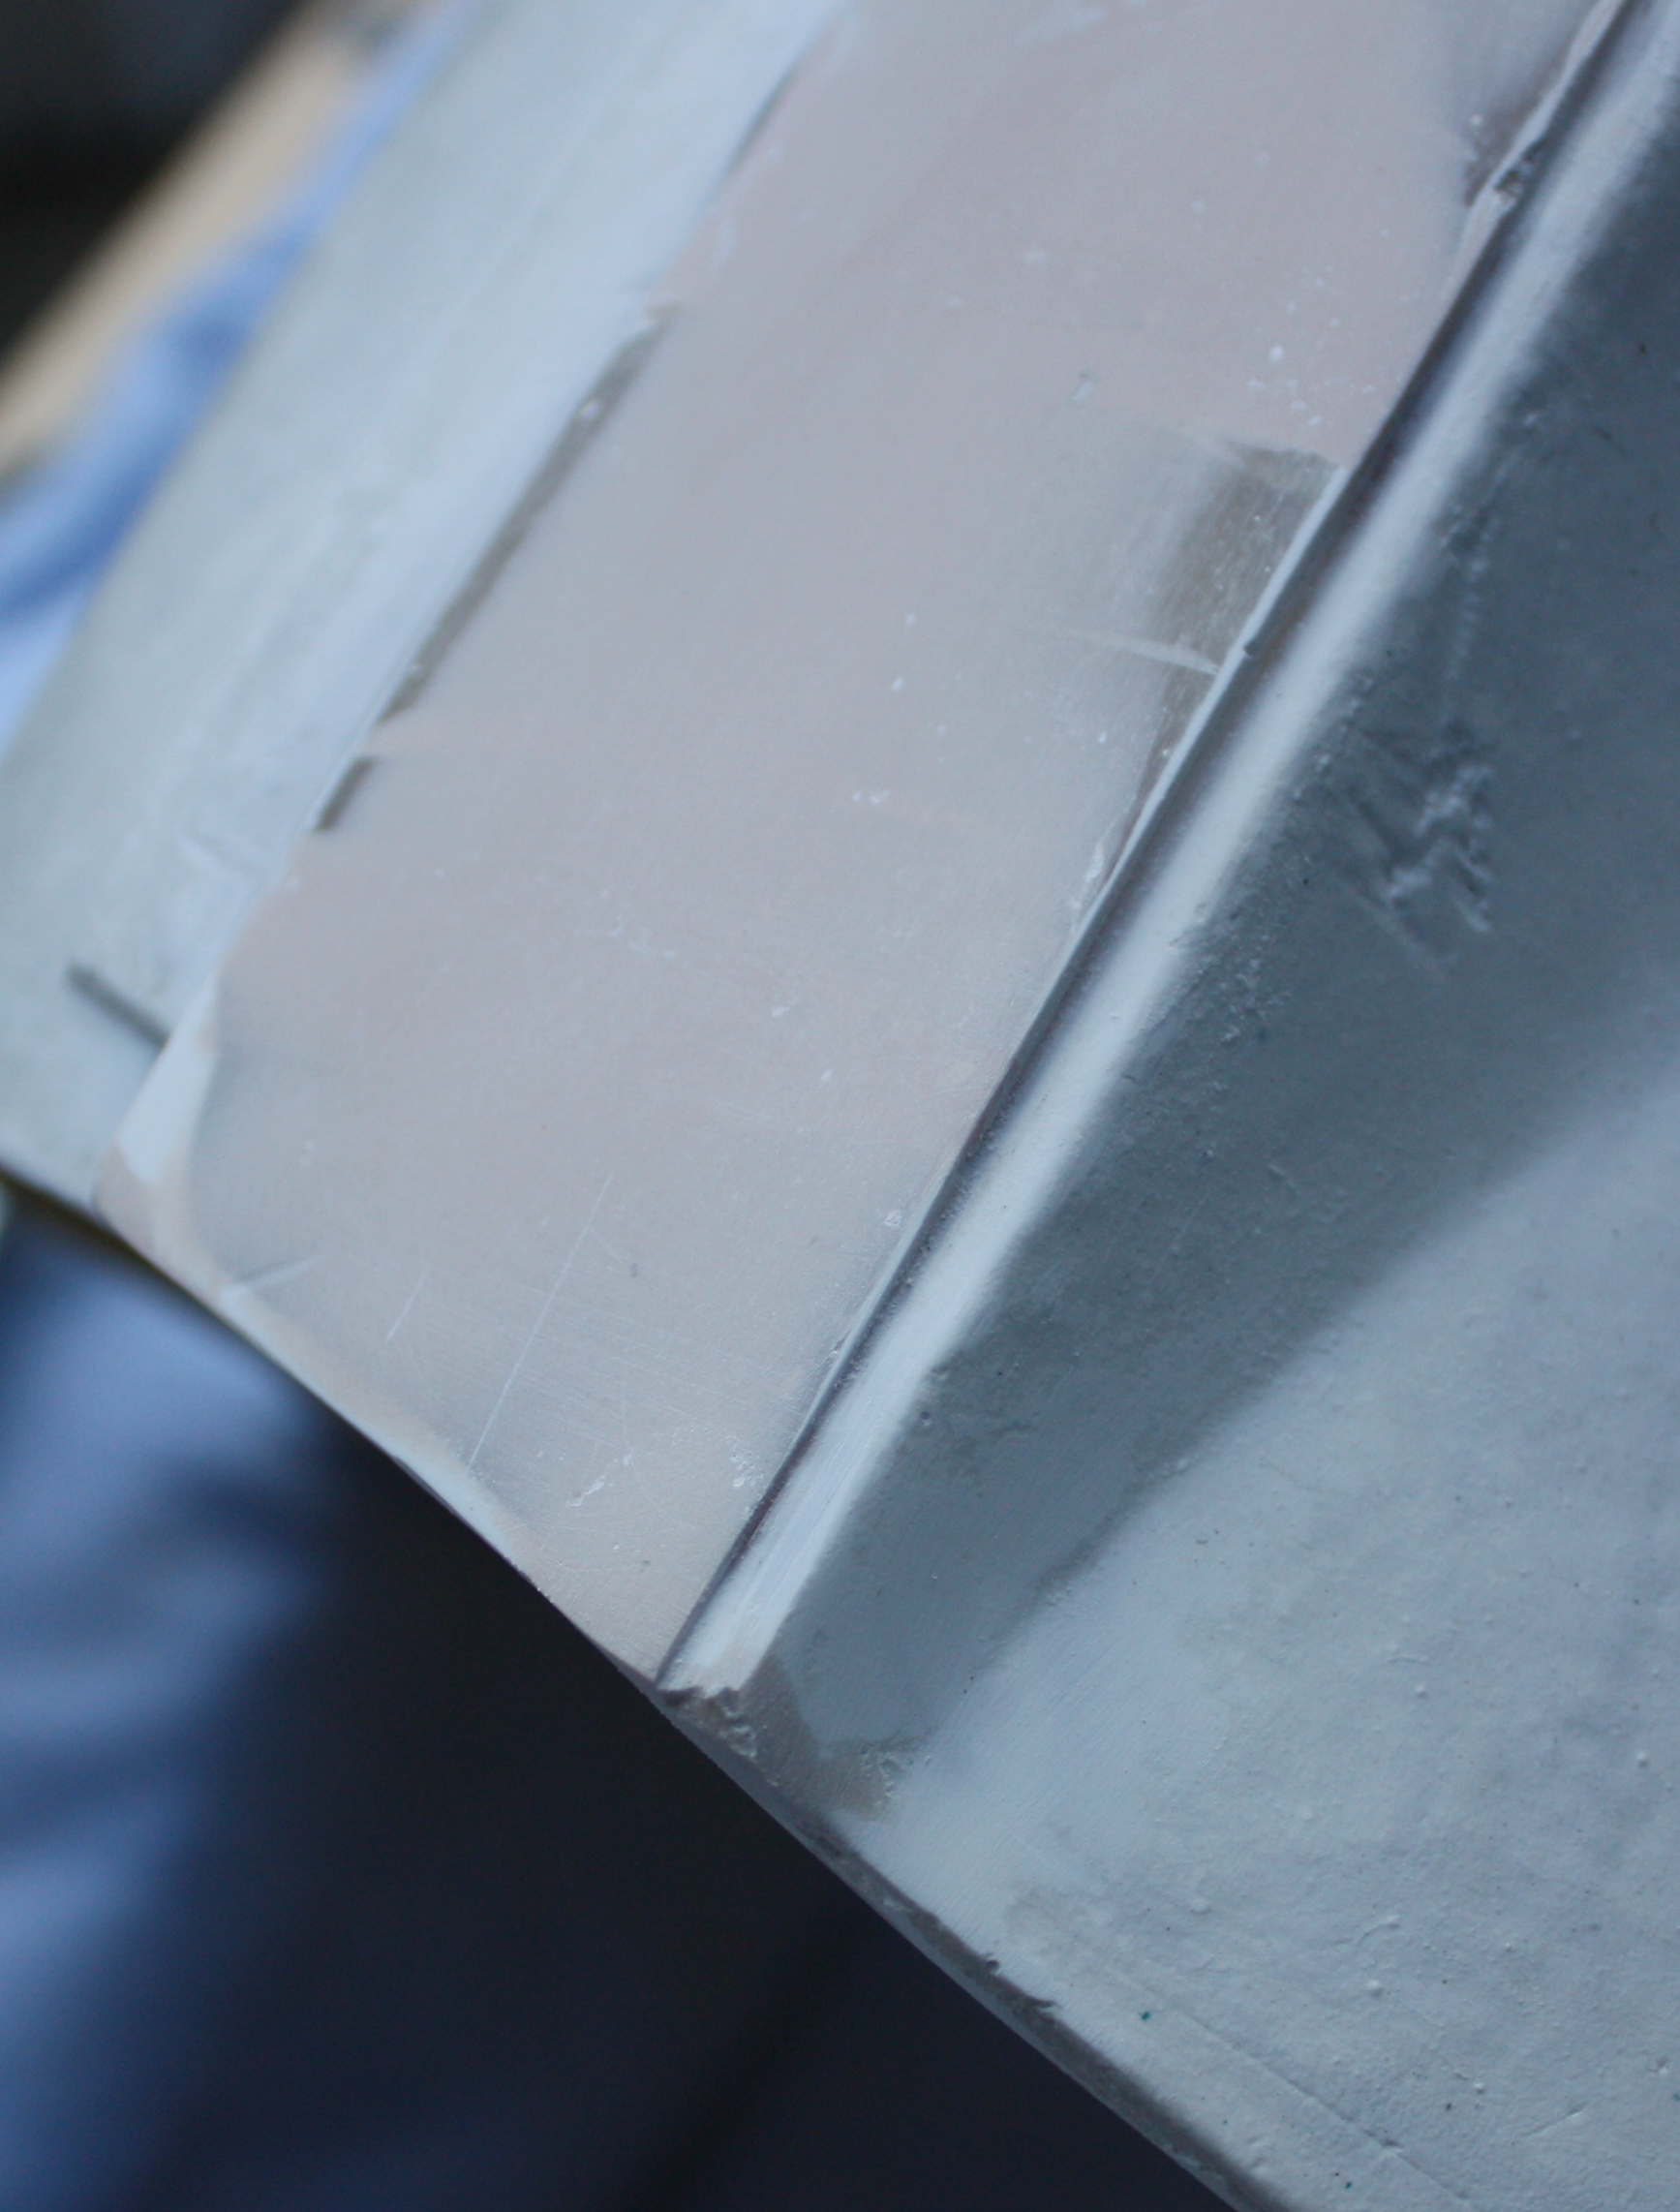
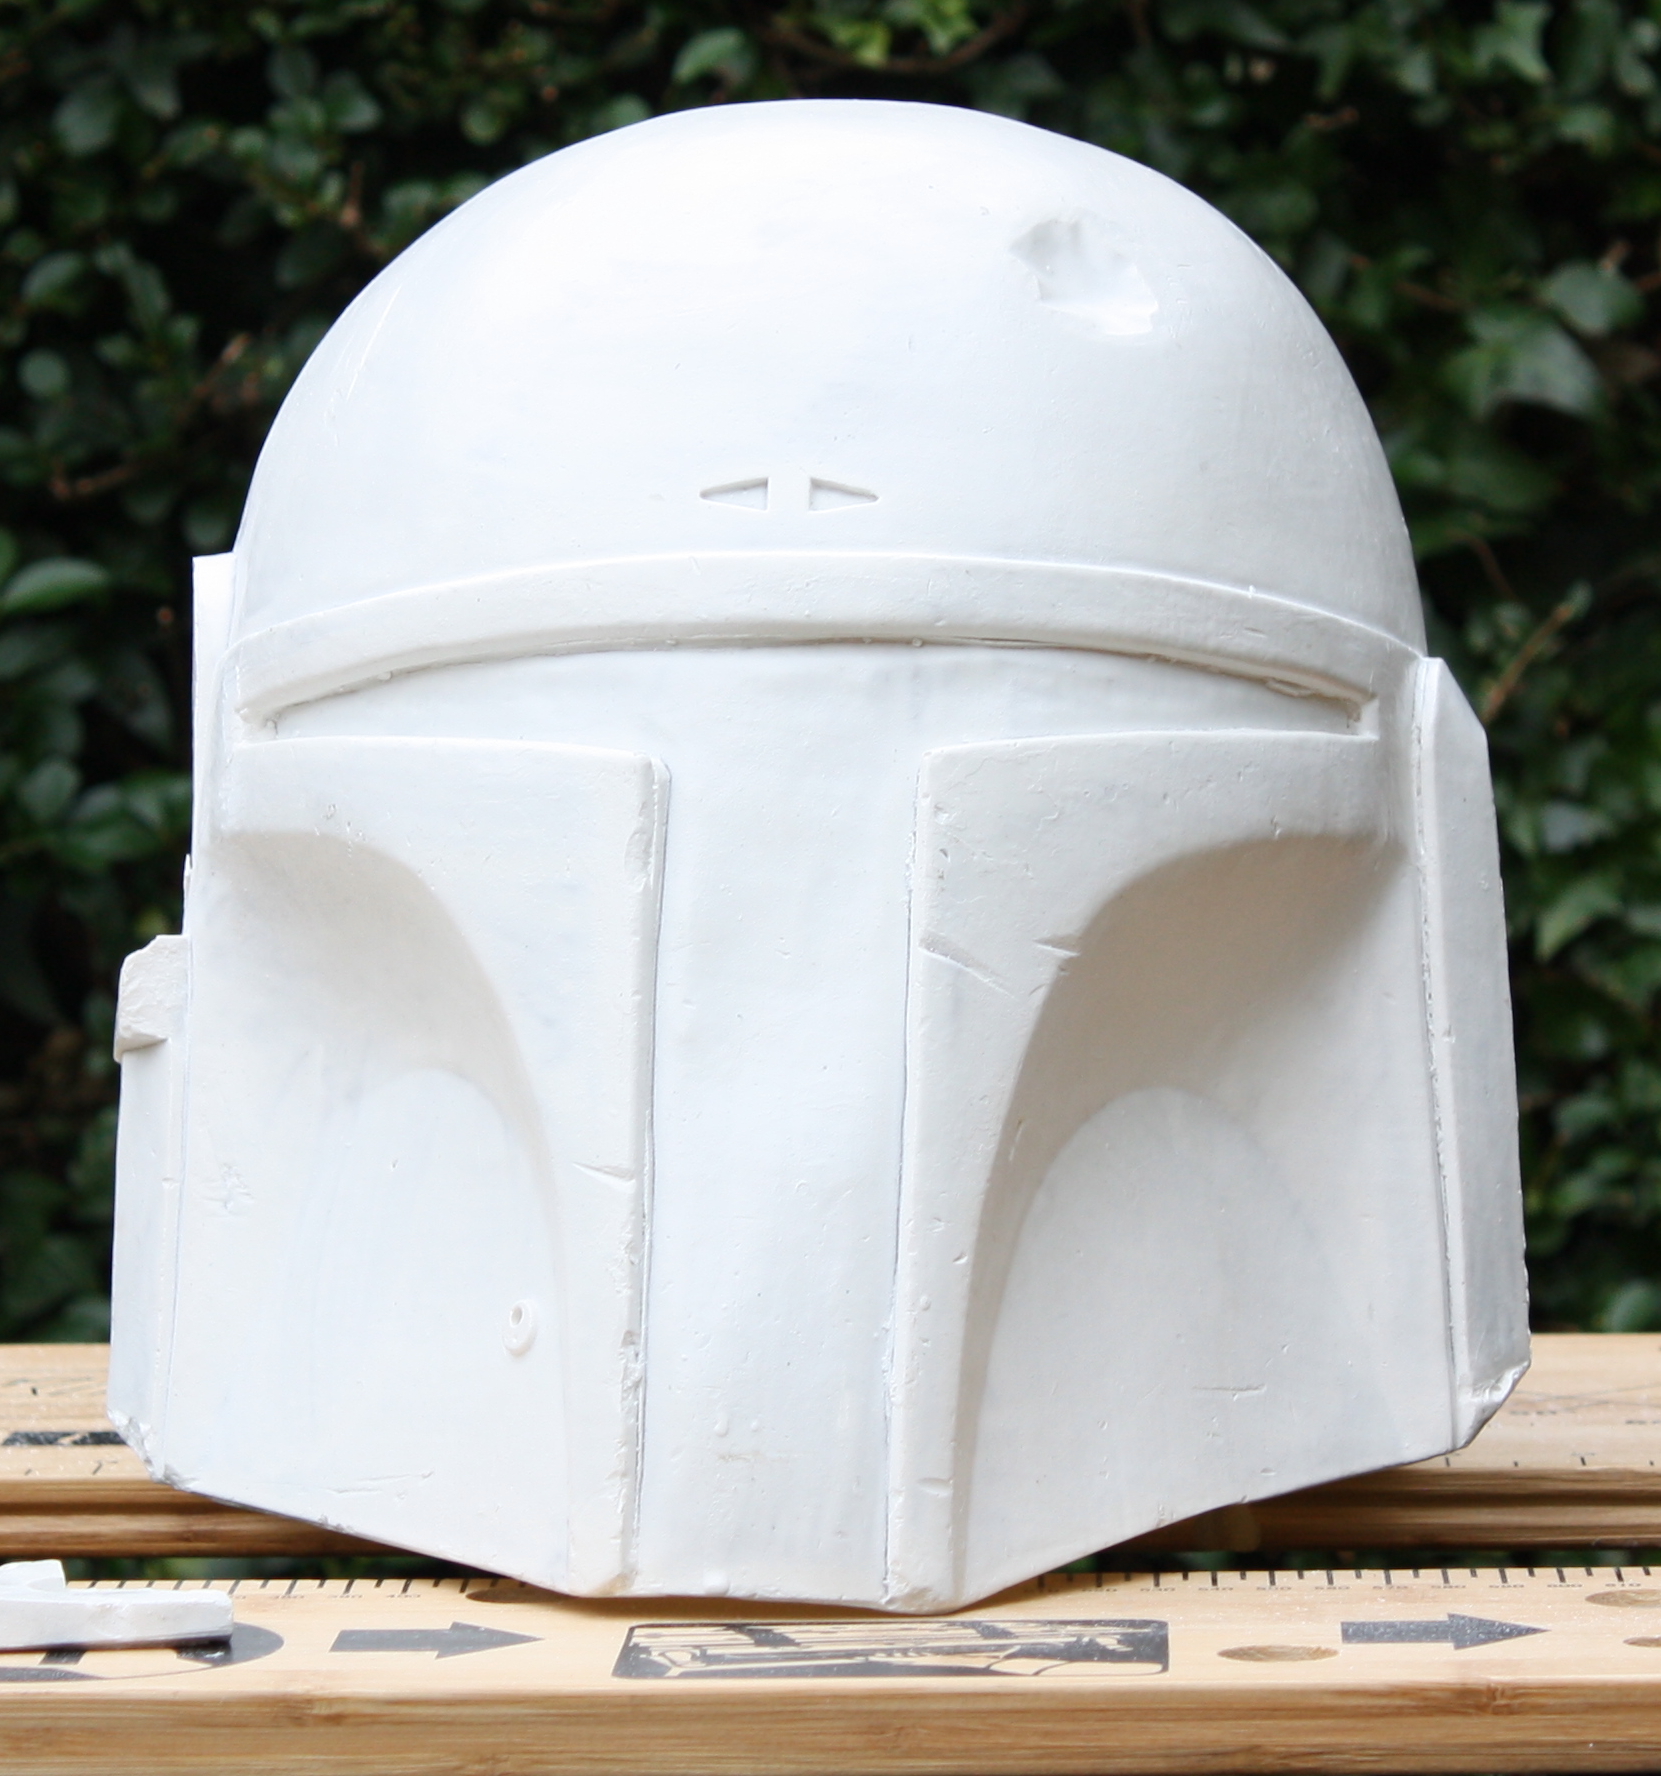
Once the lower ear section was also off I had to go back in and add filler to build up and level out both platform as it would have been on one of the original six helmets. This is a particularly time consuming process for the right ear because the upper and lower platforms are not continuous yet have to sit at exactly the same height and angle so when the new ears are placed on top the ears will allign.
Then I had to remove the left ear. This took hours upon hours to get off just because of the huge amounts of material to cut through.
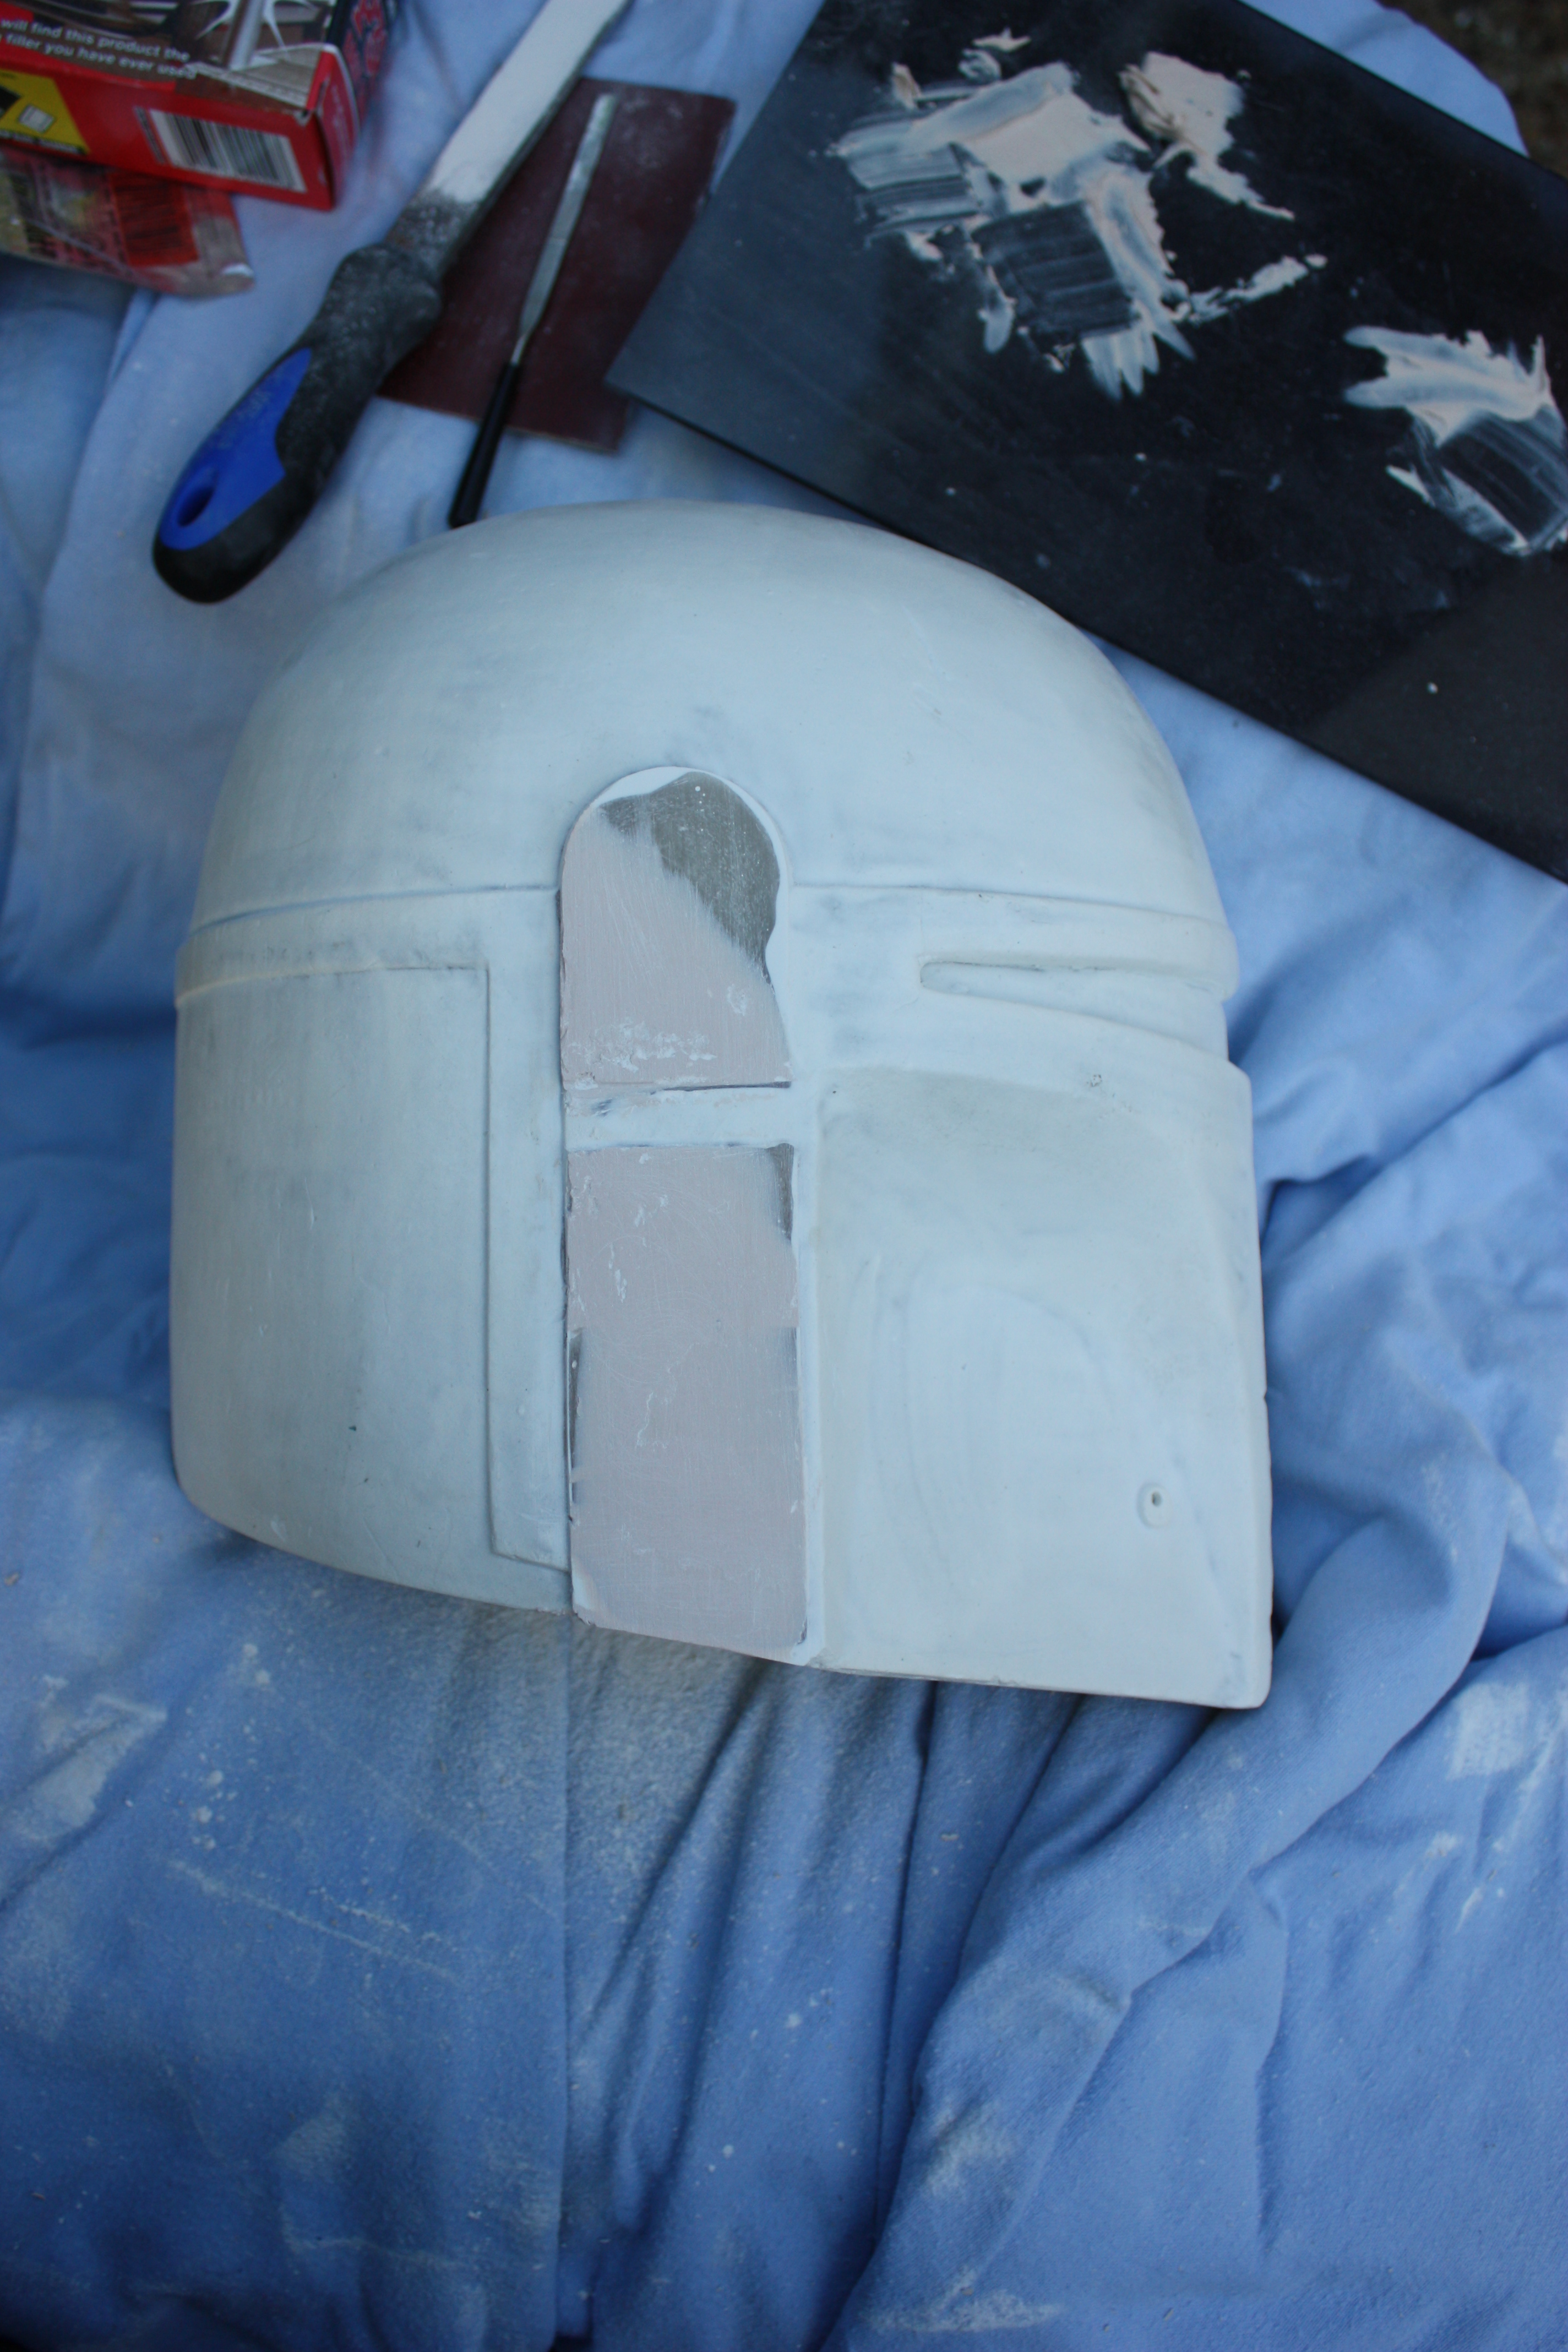
 Once again car body filler was used to build up and level out the platform. This was a far easier process on this ear as it is only one continuous piece on this side.
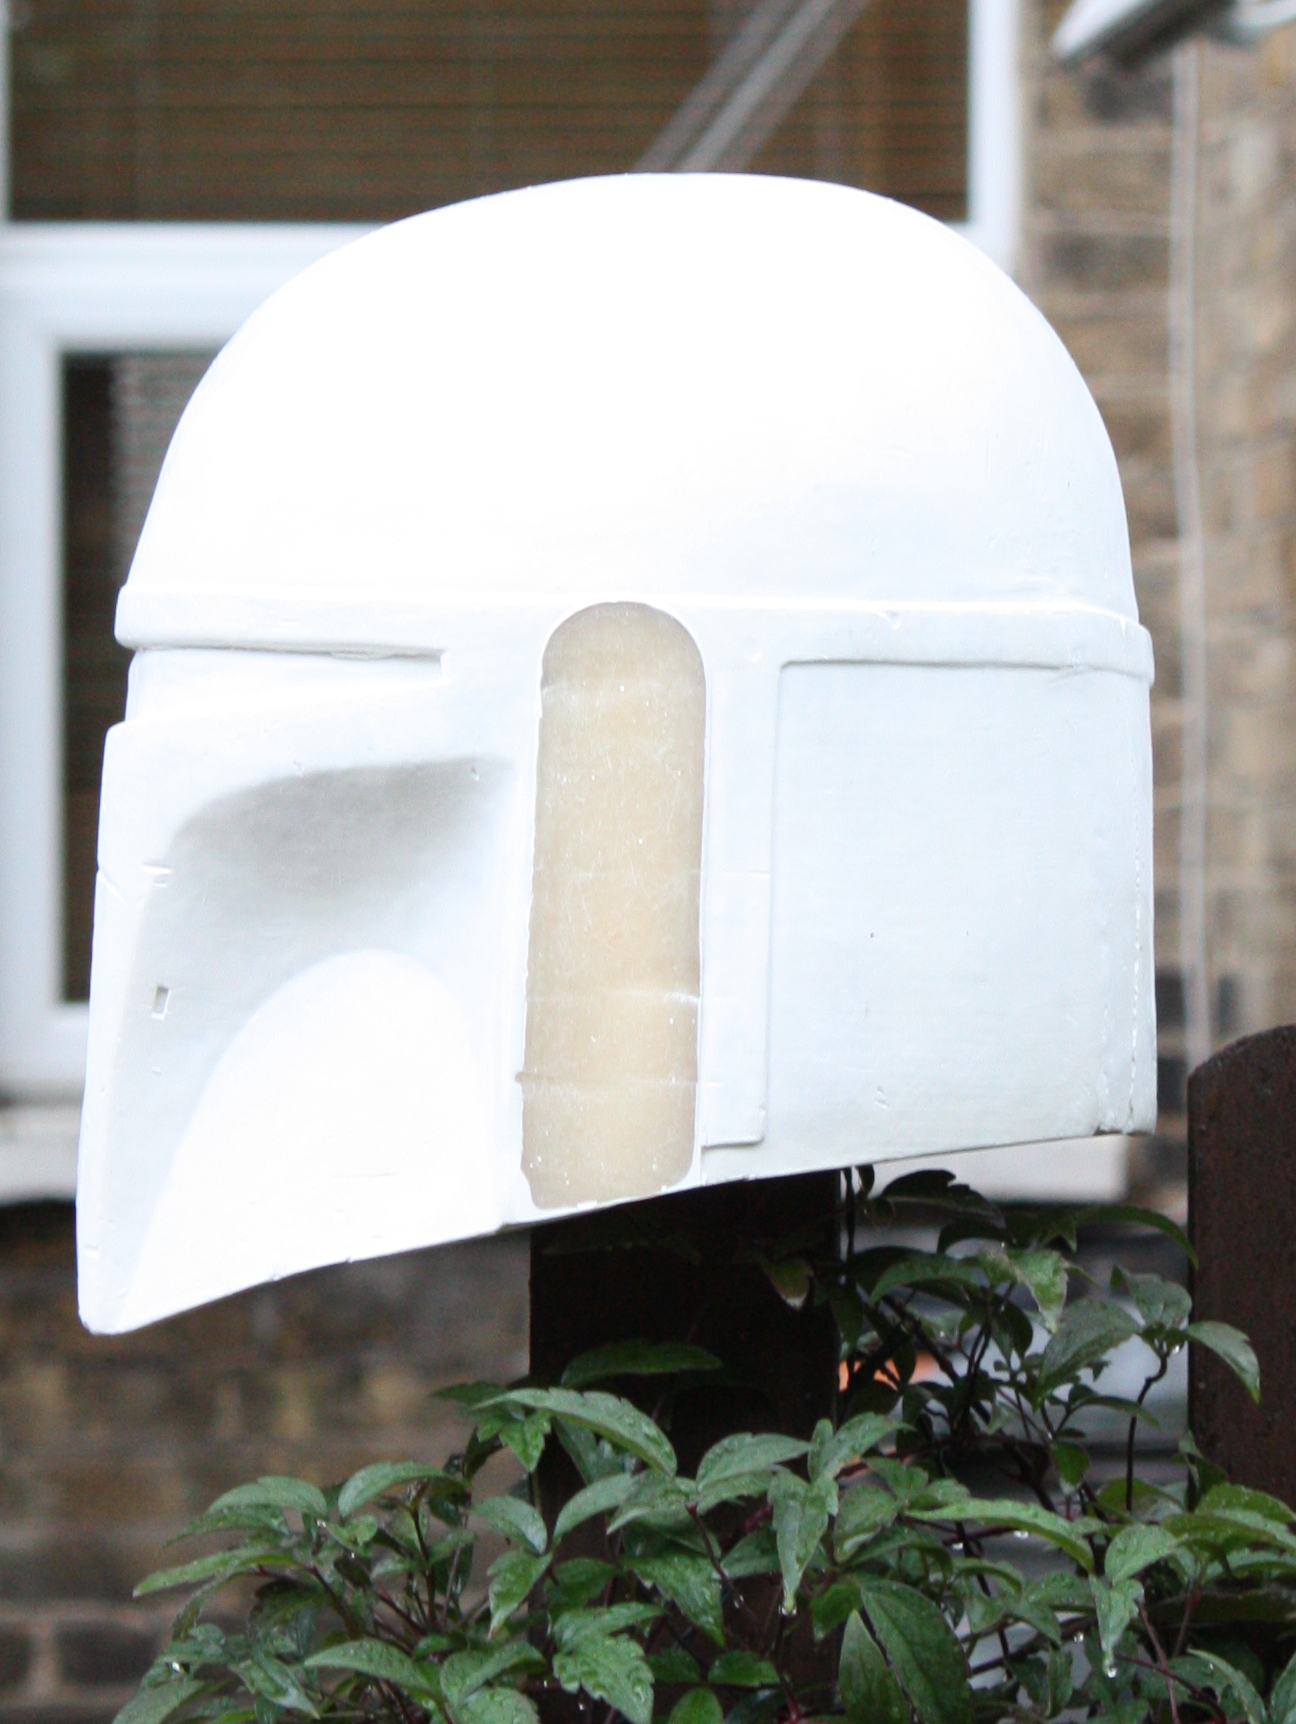
Lots of revision and reworking was done on both sides in order to get the ear platforms just right and perfectly level all over. The differences in the colour merely show the changes in material and not an unevenness in the surface. The very bottom picture demonstrates just how thin the platforms need to be at the shallowest points; at the very bottom of the taper it’s about half a millimetre deep.